Table of contents
Overview
Adding links and interactive actions is the most effective strategy to guide your readers toward specific business outcomes. Whether you are driving traffic to a high-converting landing page, enabling direct purchases through a product catalog, or simplifying navigation in complex internal reports, these interactive elements transform a passive reading experience into an active engagement tool.
For B2B professionals, these tools reduce friction in the customer journey by providing immediate access to relevant resources, product details, or contact channels without forcing the reader to leave the publication environment.
Requirements:
-
Permissions: You must have Admin or Editor permissions within your Flipsnack workspace.
-
Pricing plan: Basic link detection is available on all plans. Advanced interactive features such as Product tags, Shopping buttons, Overlays, and Charts require an Enter or higher.
-
Source file: If you are importing links from a PDF, ensure they are properly hyperlinked in the source document before uploading.
Use cases
-
Internal communications: Link a Table of contents to specific pages to help employees quickly navigate through employee handbooks or quarterly reports.
-
Marketing materials: Add Go to URL links to calls-to-action (CTAs) to drive traffic directly to campaign landing pages or lead generation forms
-
Sales materials: Use Phone number and Open SMS actions on representative profiles to allow prospects to initiate contact with a single tap.
-
Training materials: Embed Popup frames with instructional videos or external quizzes to verify comprehension without disrupting the learning flow.
How to add links in the design studio
There are three primary ways to create interactive areas within your publication using the Design studio.
1. Use the Draw link tool
The fastest method for creating custom interactive "hotspots" over existing design elements.
-
Open your flipbook in the Design studio.
-
Click the Draw link icon in the left-side panel (or press L on your keyboard).
-
Click and drag on the canvas to draw an interactive area over your target element.
2. Add a Link area element
Best for adding standard, resizable interactive boxes from the library.
-
Click on the Interactions tab in the left-side menu.
-
Select Link area to place a transparent box on the current page.
-
Use the handles to resize and position it over your design.
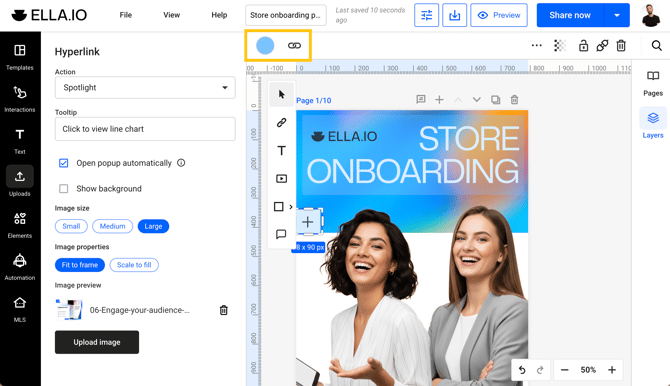
3. Use the Action button for existing elements
Turn any text box, image, shape, or icon into a functional link.
-
Select the specific element on your page.
-
Click the Action button in the top-right Edit panel.
-
Select your desired action from the dropdown menu to reveal the configuration settings.
Caution: The link button only has the go to URL action available. If you want to use the other link actions use link-area on top of the button or image.
Interactive actions available explained
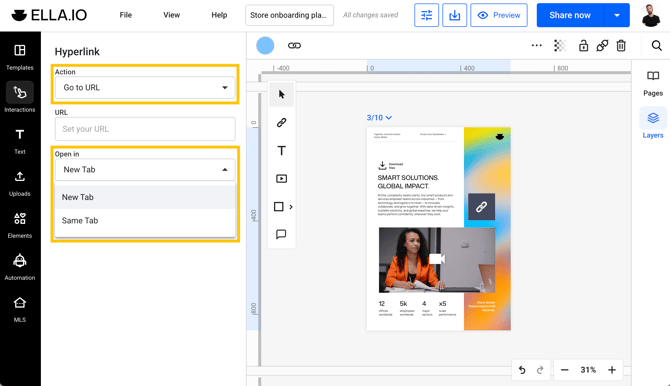
Go to URL
This action directs readers to an external website. Enter the destination URL and choose to open it in a New tab or the Same tab. This is your primary tool for driving website traffic, ensuring a smooth transition from your publication to your digital ecosystem.
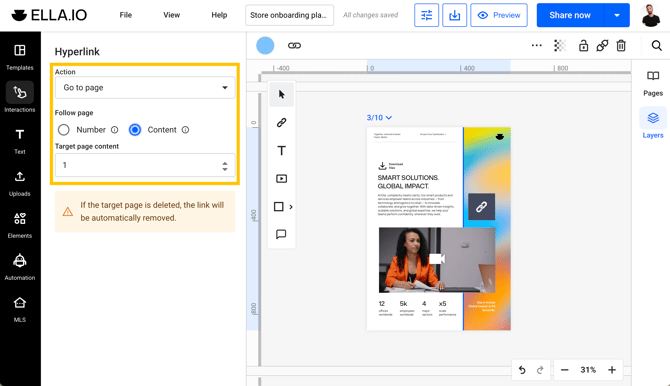
Go to page
Direct readers to a specific internal page. You can set a fixed page number or use the Content toggle.
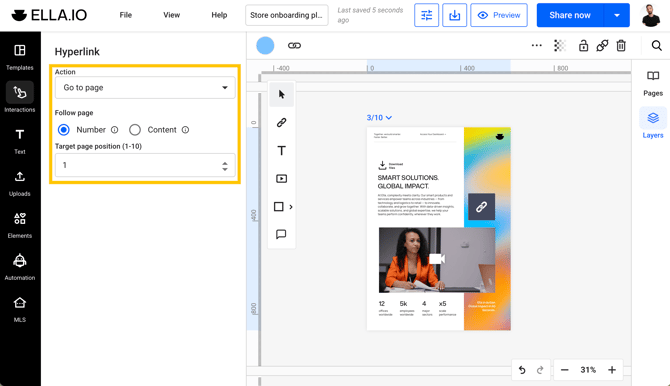
Content ensures that if you rearrange your layout later, the link remains connected to the content rather than a fixed page number.
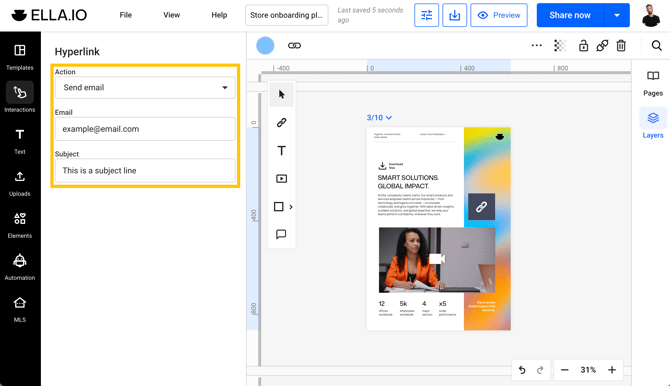
Send email
Opens the reader's default mail client with pre-set information. You can configure the Email address, a specific Subject, and a Body message. Pre-filling the subject line helps your sales or support teams immediately identify which specific flipbook or product triggered the inquiry.
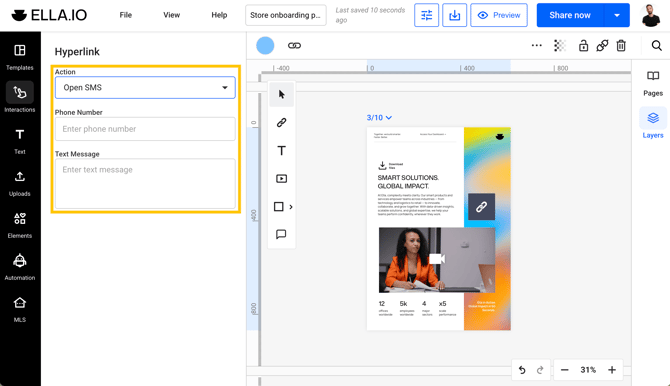
Phone number and Open SMS
Configure a one-tap connection for mobile users. Enter the Phone number (including country code) and, for SMS, a Pre-filled message.
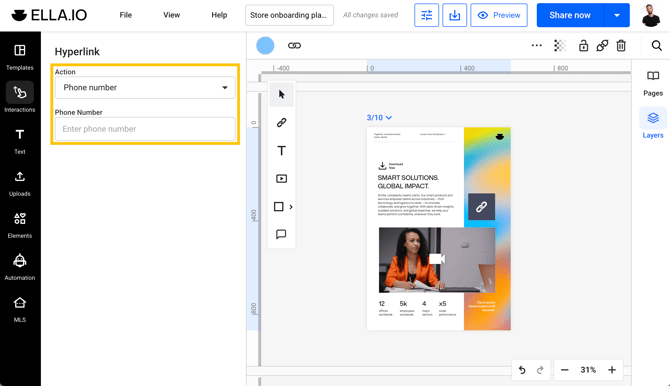
Essential for sales materials, this removes the friction of manual dialing and encourages immediate conversation.
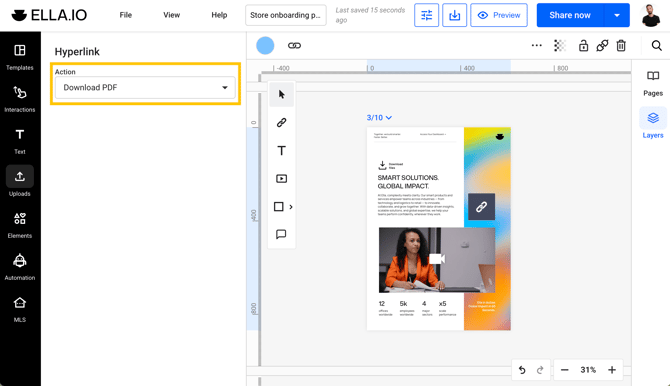
Download PDF
Triggers an immediate download of the PDF version of your publication. Note: You must enable Download PDF in the Customize menu for this to function. Ideal for providing "Printable versions" of price lists or technical manuals that readers may need to reference offline.
Popup frame
Embed external interactive content, such as Google Maps or web forms, directly inside a popup window by pasting the URL. Keeps your audience engaged within the flipbook environment while providing a rich, multimedia experience.

Open an overlay
Displays a customizable popup window containing your own content. You can set an Overlay title and an Overlay description. Use the Position grid to select where the overlay appears on the screen (e.g., Top-Left, Center, Bottom-Right, etc.) and choose the Trigger method, either On click or On hover.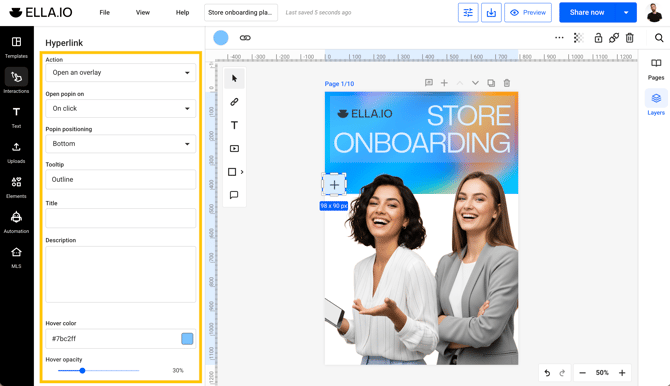
Overlays are perfect for "More info" buttons or tooltips, allowing you to show complex technical specs or legal text only when the reader requests it, keeping your design clean and professional.
Spotlight
This action opens a single high-resolution image in a popup window. Perfect for visual-heavy materials where high-resolution detail is critical to the brand image. It allows for a dynamic presentation without occupying page space.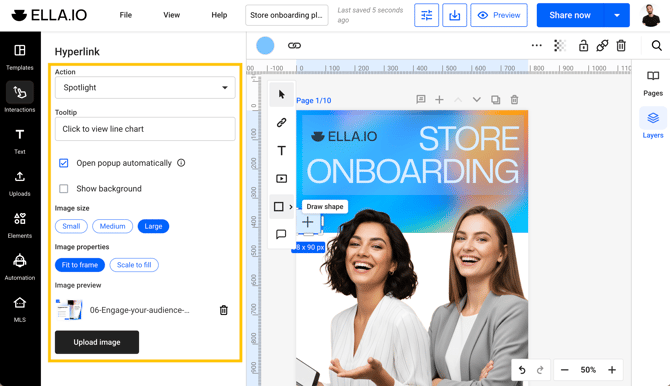
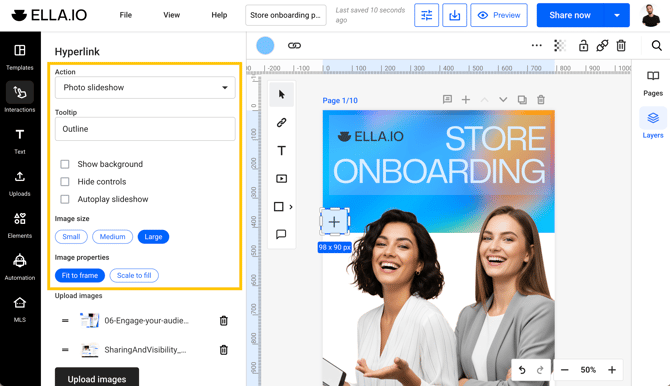
Photo slideshow
Displays an interactive gallery of images. Click Add photos to build your gallery. You can set the Image size and fit. This feature is ideal for showcasing product variants or project portfolios, providing a rich visual experience without cluttering the layout.
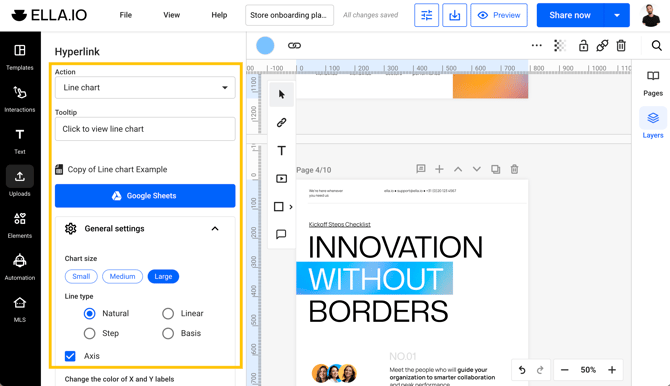
Line, Bar, and Pie charts
Configure interactive data visualizations by setting a Title, Value labels, and adding Data points. You can also customize the Color palette. Makes complex data in annual reports or whitepapers digestible. Readers can hover over segments to see precise values, increasing information retention.
Customizing link appearance and animation
-
Color and opacity: Select the link element and use the Color square and Opacity slider in the top bar. Set opacity to 0% for invisible "hotspots" or use a brand color at low transparency for highlights.
-
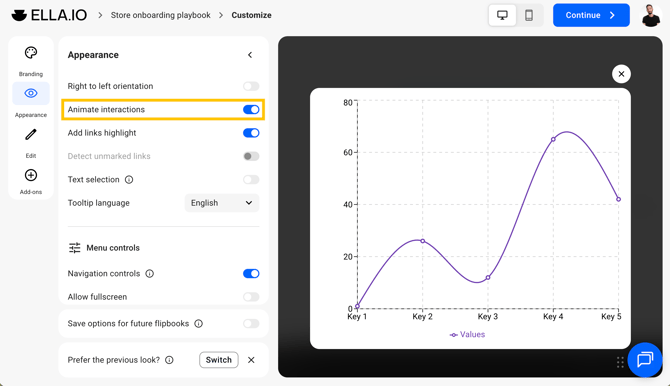
Animate interactions: By default, links have a soft highlight animation in the player. To turn this off, go to Customize > Appearance and untick the Animate interactions box.
Additional tips
-
Group for efficiency: You can group a Link area with a design element by selecting both and clicking Group to ensure they move together during layout edits.
-
Bulk apply: If you have a navigation button or logo link, select it and click Add on all pages in the Layers panel to replicate it instantly across the entire publication.
-
Automation: For catalogs with hundreds of items, you can automate multimedia elements to save time.
Troubleshooting
What to do if links are not working in the published version
-
Verify the publication is fully Published; some interactive features are disabled in draft mode.
-
Open the Layers panel and ensure the link element is at the very top of the list so it isn't "blocked" by images or text boxes.
-
Check that the specific feature (e.g., Download PDF or Shopping list) is toggled ON in the Customize settings menu.
What to do if "Go to page" leads to the wrong page
-
Verify if you used a fixed page number instead of the Attach to page option.
-
Ensure you haven't deleted or moved the target page without updating the link settings.
Frequently asked questions
Can I add links to my flipbook using my keyboard?
Yes. While in the Design studio, you can press the L key on your keyboard to instantly activate the Draw link tool.
Do my PDF links carry over to Flipsnack?
Yes, most links should be detected automatically during the upload process. If they are missing, ensure your PDF was exported as "Single Pages" rather than "Spreads" and was properly hyperlinked in the source software.
Next steps
You are now ready to maximize the interactivity of your flipbooks! Explore our related guides to further enhance your content:
-
How to turn your PDFs into shoppable catalogs and automate the process
-
How to automate multimedia elements in your digital flipbooks
Need help setting up your interactive links?
Our team is here to help. Connect with our team experts via form or in-app chat for personalized assistance!