Table of contents
Overview
Product tags let you showcase products inside your flipbooks, turning catalogs into interactive shopping experiences. Easily highlight product details like titles, descriptions, prices, and links—making it simple for readers to explore and purchase items directly from your catalog.
-1.gif?width=670&height=472&name=ezgif_com-gif-maker+(24)-1.gif)
Key benefits of product tags
-
Boost engagement: Let readers explore product details without leaving the flipbook.
-
Increase conversions: Add direct links to product pages for seamless shopping.
-
Flexible design: Match product tags to your catalog’s style with customizable colors.
-
Multi-image support: Show off products from multiple angles or with variations.
Requirements
- Plan: Starting from the Professional plan
How to add a product tag
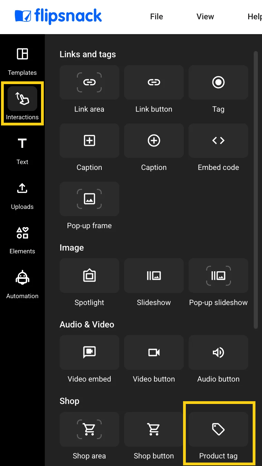
First, you need to head over to the Interactions tab that can be found on the left side of the Design Studio.
You will then be able to see the Product tag element and add it to your page.
Once the Product tag is placed on the page, simply click on it, and you will have a new option called Edit in the upper left section of the Design Studio.
Upon clicking the Edit button, you will have the option to enter a product title, a product description, your URL page for your product, the price, and last but not least, images of your product.
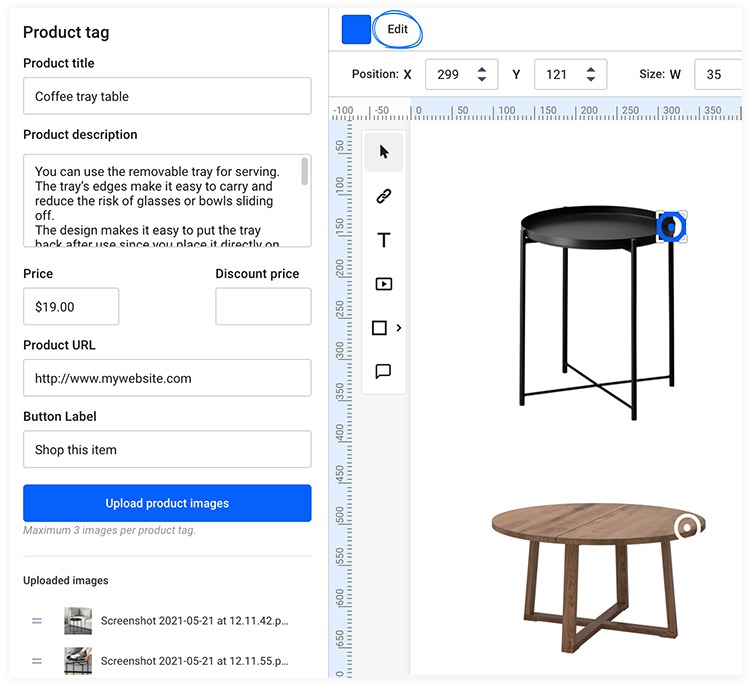
The price fields allow you to enter the original price as well as the discounted price, displaying the old price and the new one.
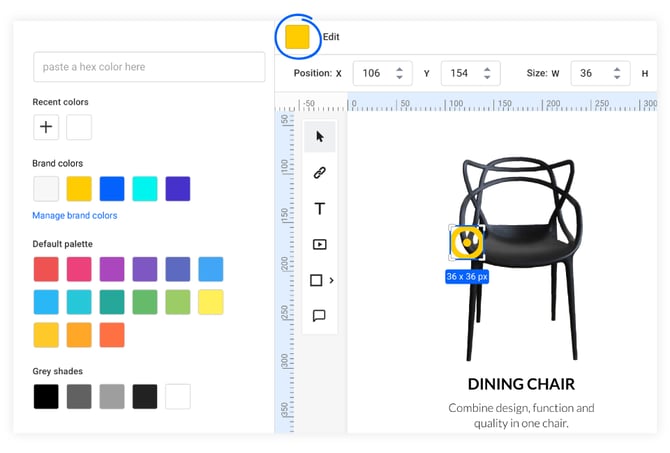
In order to make the tag blend in with the theme of your catalog, you can even change the color next to the Edit button.
To add images of your product, simply click on the Upload product images button and upload up to 3 images.
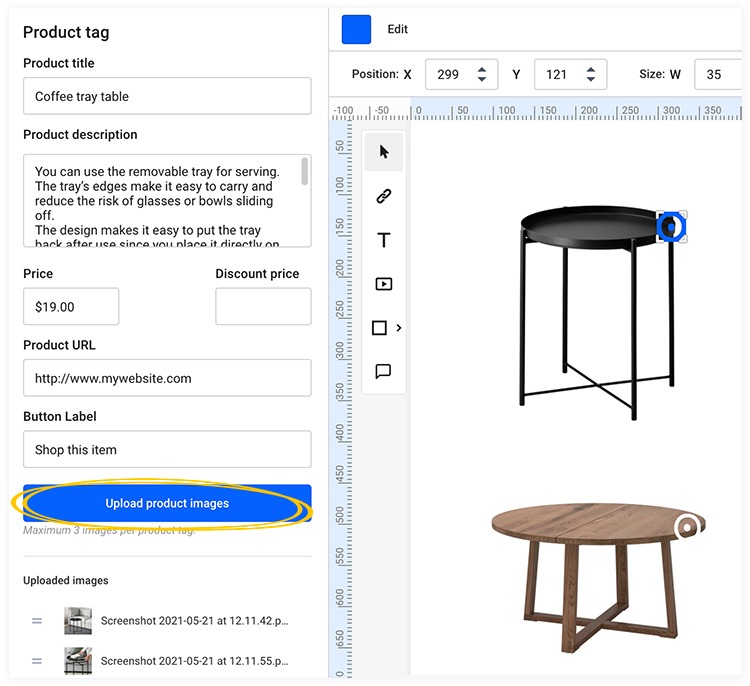
You can upload the images in any order and reorder them later in the Design Studio by clicking and dragging the images by the = icon on the left of the image.
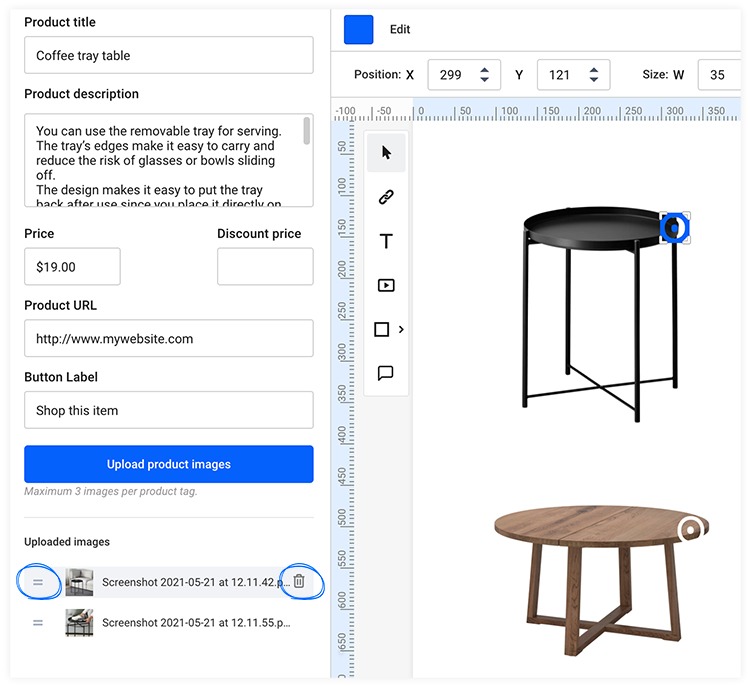
If you wish to remove one of the images, simply hover your mouse over the image in the Design Studio and click on the X that appears on the right.
When a reader clicks on a Product Tag, a small overlay will open that provides them with details about your product: title, description, old/new price, and a "Shop this Item" button that will lead to the URL where you sell your product.
If you added an image, when you click on the product tag, the image will appear on the left side of the overlay.
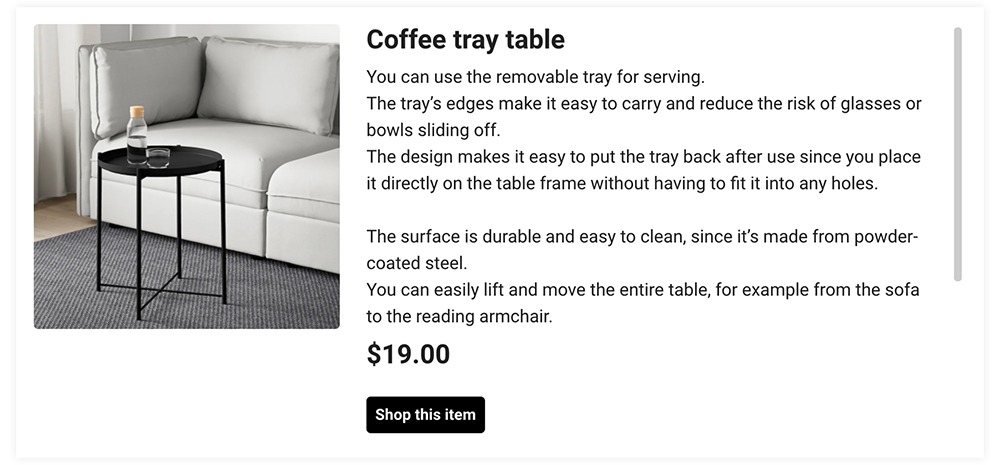
When you upload more than one image, they will all appear at the bottom of the left half of the overlay, and you can click on each one to preview it.
Next steps
Explore related interactivity guides:
- How to add interactive elements to flipbooks
- Adding photo slideshows in your publications
- How to automate multimedia elements in your digital flipbooks
Need expert support?
Our team is here to help. Connect with our team experts or message us via the in-app chat for a personalized demo.