Table of contents:
- Overview
- Setting up the SAML application in Microsoft Entra ID
- Configuring the Azure SAML in Flipsnack
- Verifying the connection
- Next steps
Overview
Integrating Flipsnack with Azure SAML provides a seamless and secure authentication experience for organizations using Microsoft Entra ID. Implementing Single Sign-On (SSO) allows IT administrators to enhance access control, improve security, and simplify user management.
This guide walks you through the process of setting up and configuring Azure SAML SSO for Flipsnack, letting employees and team members access the platform effortlessly with their Microsoft Entra ID credentials.
Benefits
Here are some of the many benefits of integrating Flipsnack with Azure SAML:
- You can control who has access to Flipsnack using Microsoft Entra ID.
- You can enable users to automatically sign in to Flipsnack (Single Sign-On) with their Microsoft Entra ID accounts.
- You can manage your accounts from one central location - the Azure portal.
Requirements
To configure the Microsoft Entra ID integration with Flipsnack, you’ll first need:
- A Microsoft Entra ID subscription.
- A Flipsnack subscription with the single sign-on option enabled.
Note: The SSO feature is available starting with the Enterprise plan.
Setting up the SAML application in Microsoft Entra ID
Here’s how to create and configure a SAML application in Microsoft Entra ID:
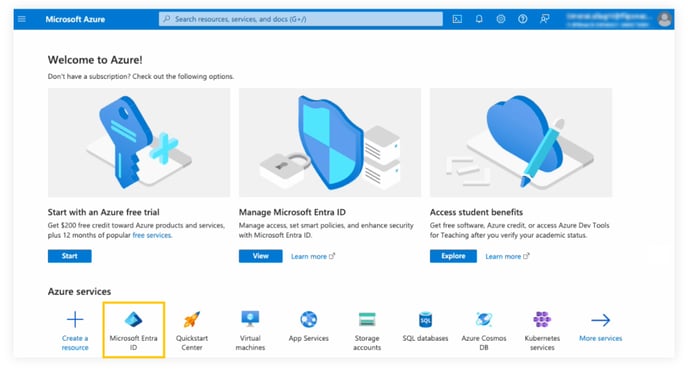
1. Log in to the Azure portal, and on the left navigation panel, click on Microsoft Entra ID.
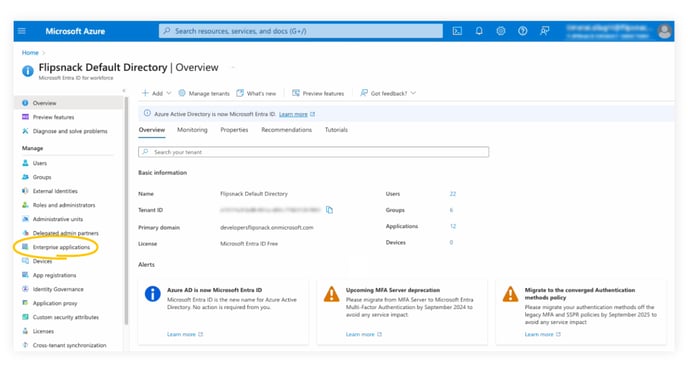
2. Navigate to Enterprise applications.
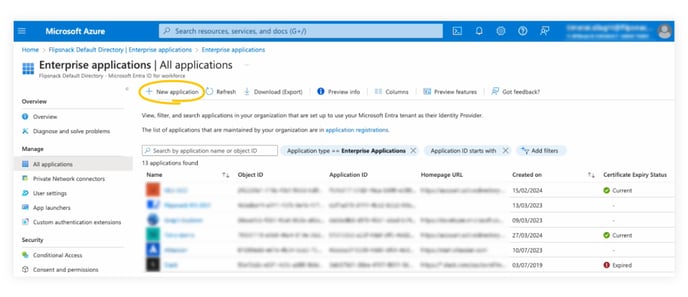
3. By default, you will be redirected to All applications. At the top of the page, click on New application.
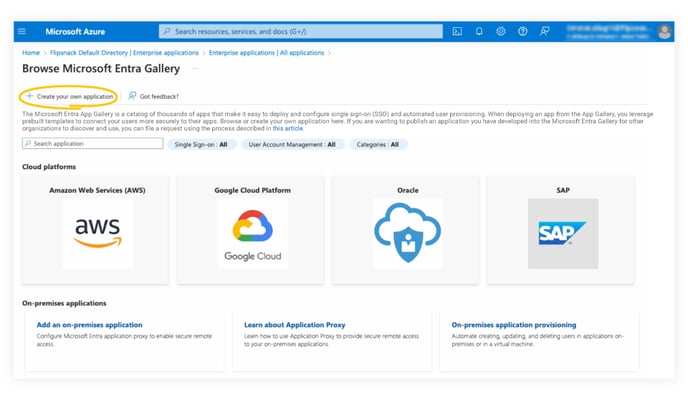
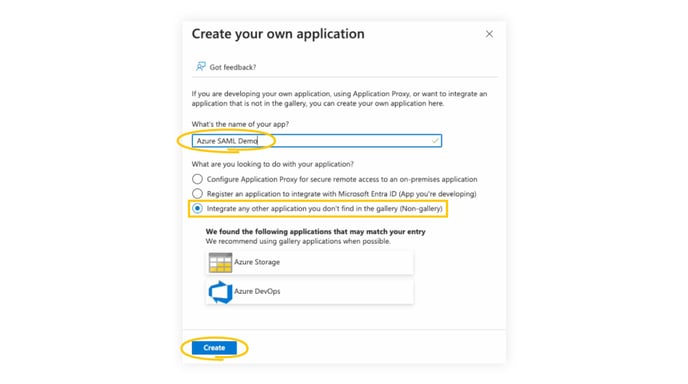
4. To add a new application, click Create your own application.
5. Enter a name for your application and select “Integrate any other application you don’t find in the gallery(Non-gallery), and then click on Create.
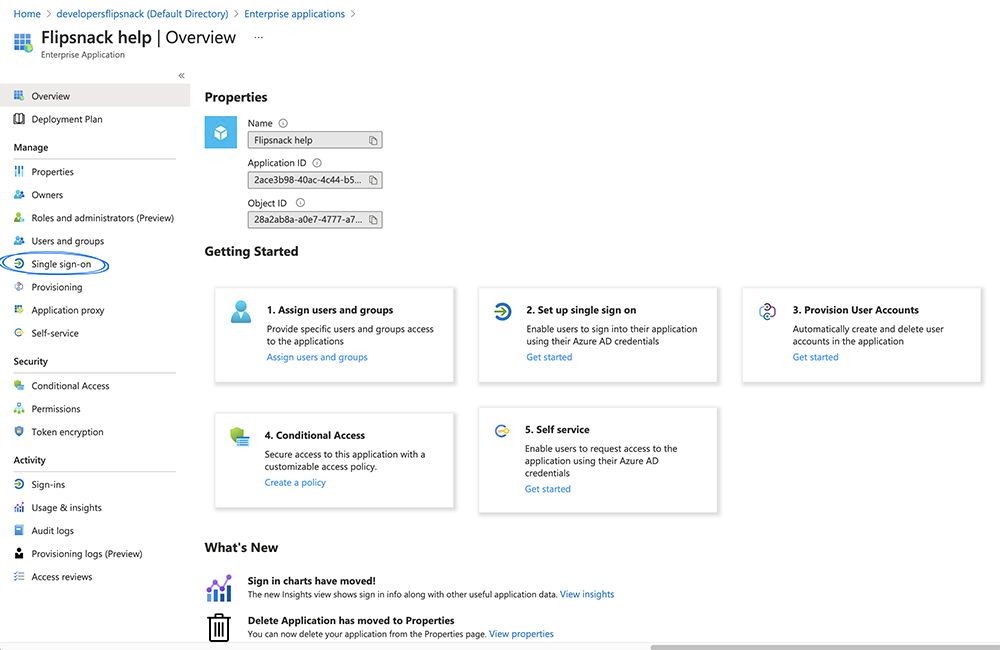
5. Then, from your application page, click on Single Sign-On.
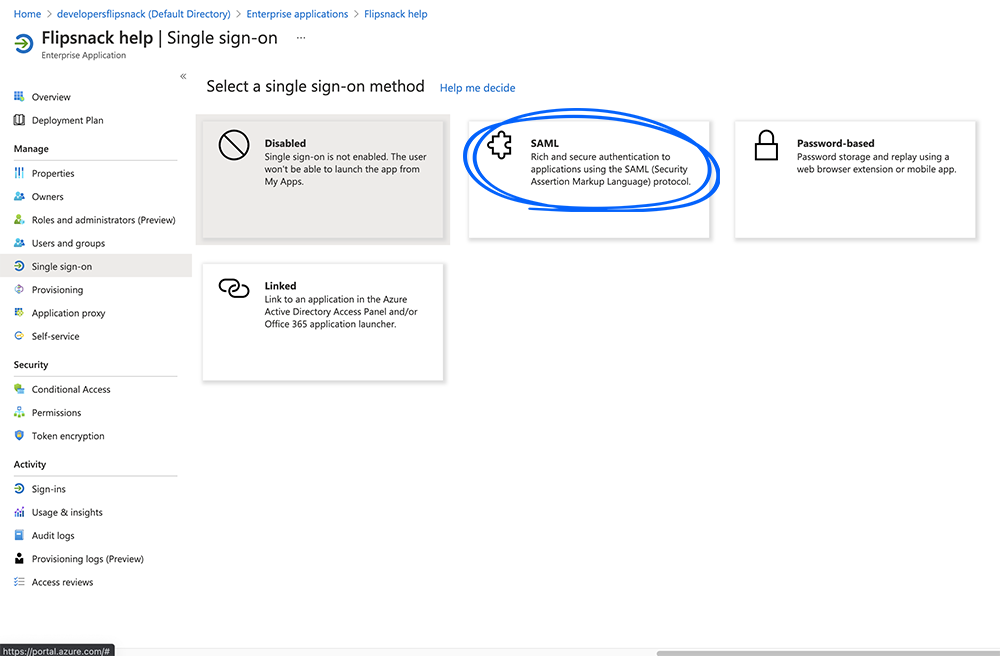
6. Choose the SAML option.
Configuring Azure SAML in Flipsnack
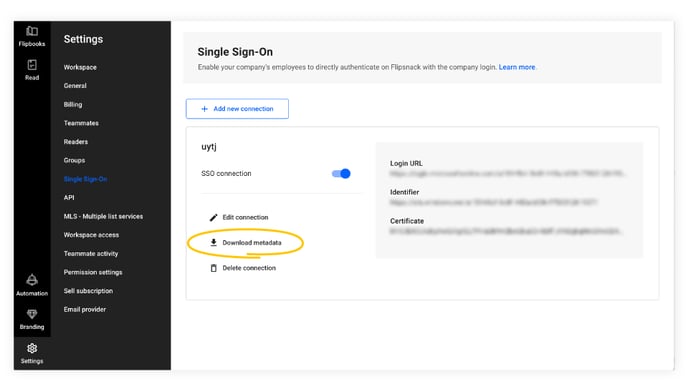
1. In the main dashboard, click on Settings in the lower left corner and then go to the Flipsnack SSO settings.
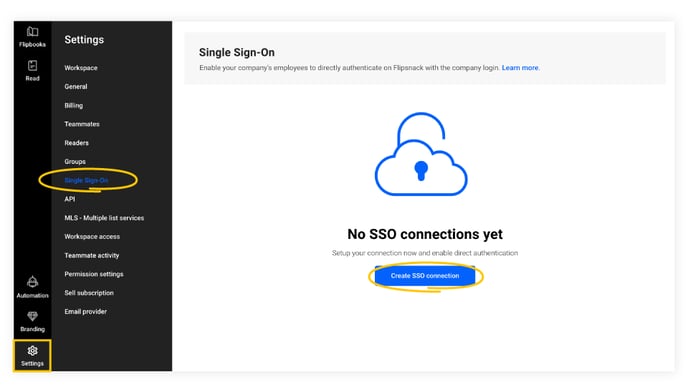
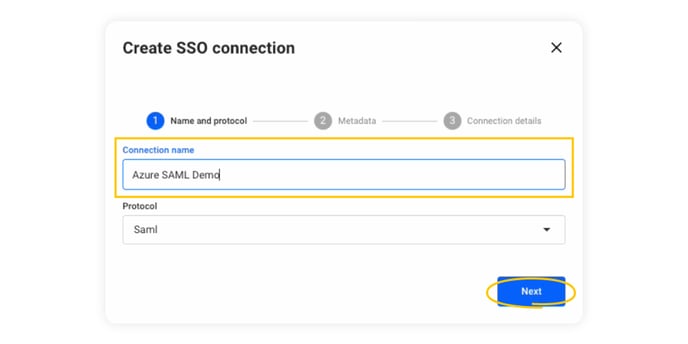
2. Enter a connection name and click on Next.
3. Click on Download metadata.
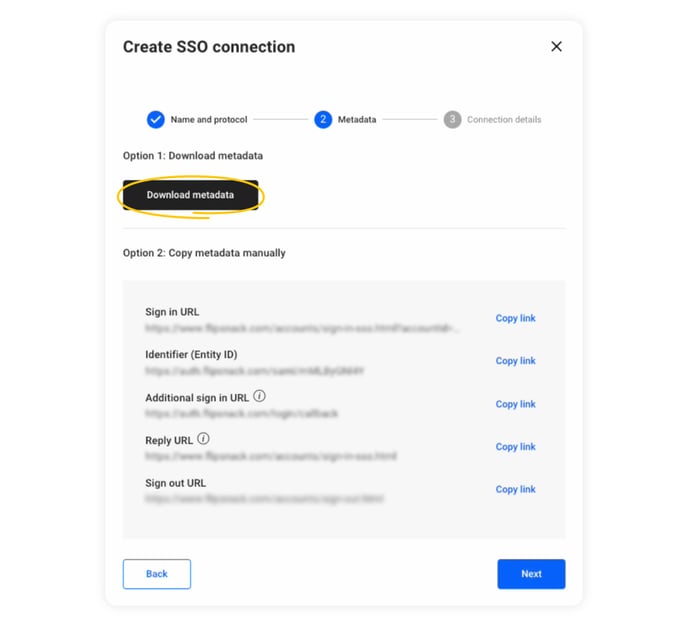
Tip: Do not close the Flipsnack tab, as you will need to go back and forth between Flipsnack and Azure.
With the metadata downloaded, go back to Azure and:
4. Click on Upload metadata file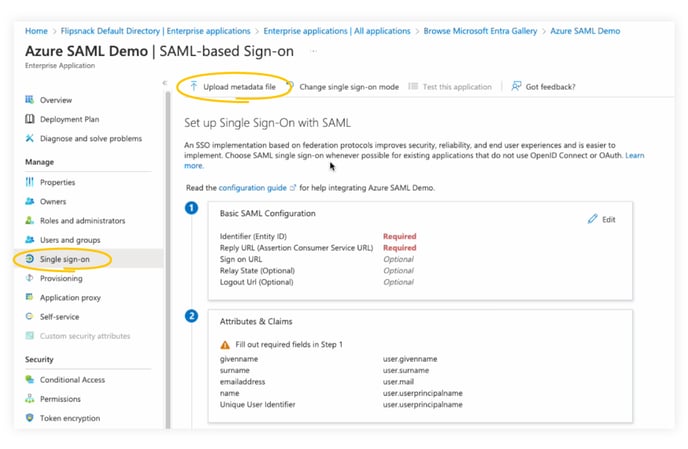
5. Select the file, then click on Add.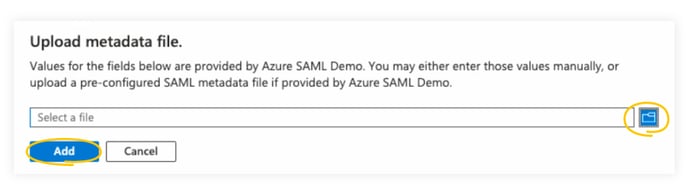
6. The Basic SAML Configuration information will show up on the right, and you can now click on Save.
Note: Instead of uploading the metadata file (which we recommend), you also have the option to add the information manually. To do so, click on edit in the Basic SAML configuration box, add the following information, and then click Save.
7. Download the Federation Metadata XML from the SAML Certificates section.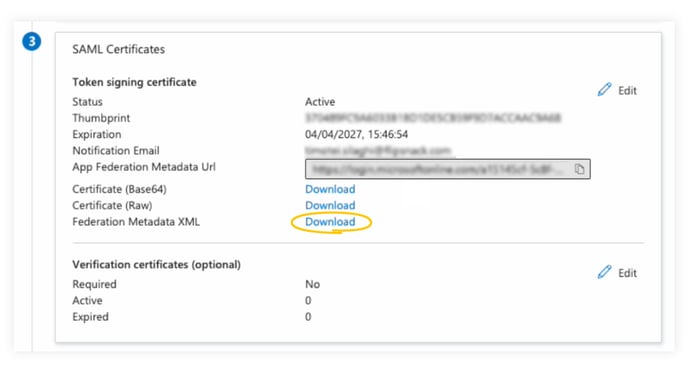
8. Go back to the Flipsnack tab and click on Next to reach the Connection details.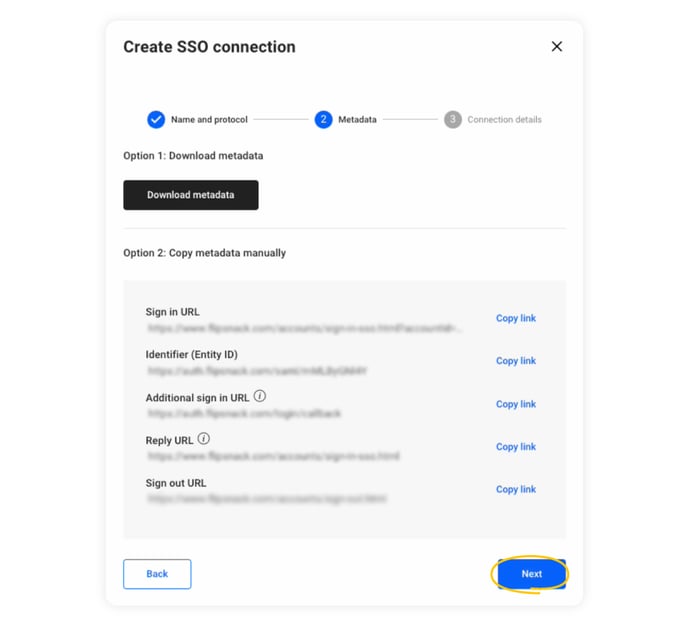
9. Click on Upload medatada.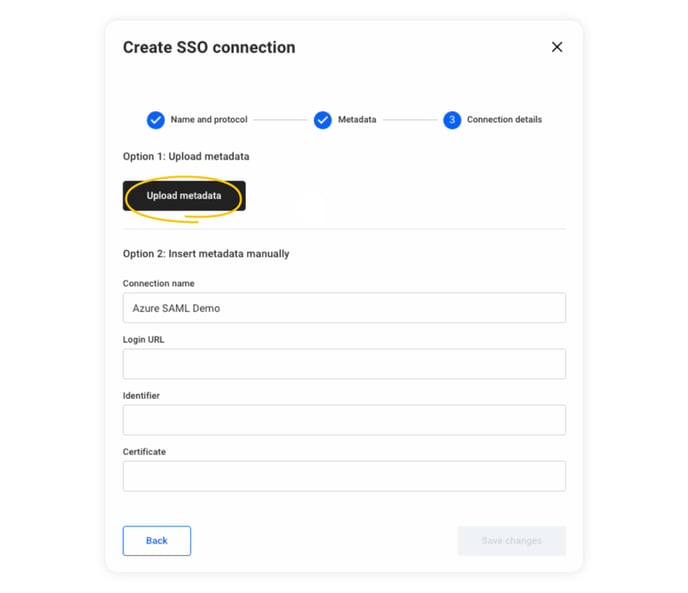
10. Upload the Federation Metadata XML file, and the Connection name, Login URL, Identifier, and Certificate fields will now be populated. Click on Save changes to complete the integration between Flipsnack and Azure SAML SSO.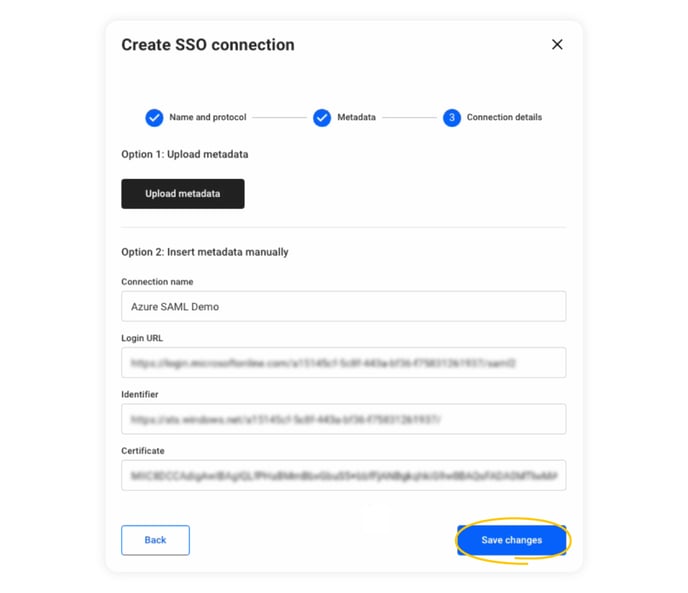
Verifying the connection:
- While on the SSO page, in Flipsnack, click on Download metadata.
- Copy the Sign-in URL by clicking on Copy link.

- Open the browser in incognito mode and paste the link.
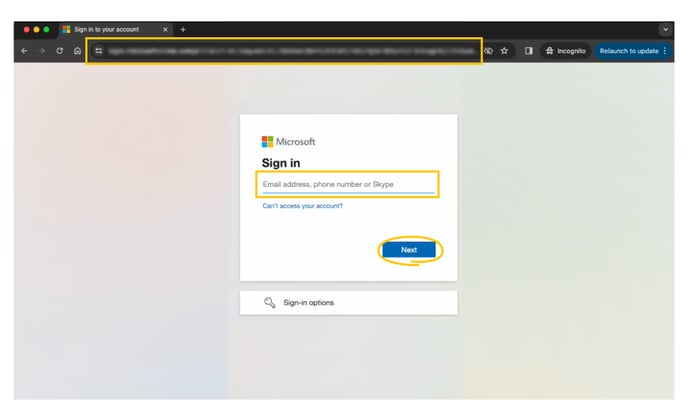
- Log in to your Microsoft account to verify the connection.
Next Steps
Explore other related articles
For additional SSO options and configurations, check out our related articles:
Need Expert Support?
Our team is here to help. Connect with our team experts or message us via the in-app chat for a personalized demo.