Table of contents
Overview
Your brand identity plays a crucial role in shaping market perception and establishing credibility. Flipsnack’s brand kit provides a centralized solution for creating and maintaining a consistent visual identity across all your publications. Below, we’ll outline how these premium branding capabilities can boost your brand presence in Flipsnack.
Key benefits
- Consistency across all publications: Maintain a unified brand presence across digital flipbooks.
- Time-saving customization: Apply predefined brand elements like logos, fonts, and colors.
- Enhanced accessibility: Adjust settings to make your flipbooks more user-friendly and inclusive.
Requirements
-
Subscription Plan: Business, Team and Enterprise plans
-
Target Audience: Small and Medium Businesses, and Enterprises.
How big brands use Flipsnack’s branding tools
Flipsnack’s branding features help businesses maintain a cohesive identity across all digital publications. Here’s how some major brands leverage these tools:
- Stand Together: In addition to using a custom domain and a personalized profile, they utilize branded bookshelves to organize and showcase their content efficiently.
- Mastercard Foundation: Hosts all public flipbooks on a custom subdomain, ensuring their profile aligns with their brand identity. Each flipbook includes the Mastercard logo in the player and features a customized link, reinforcing brand consistency.
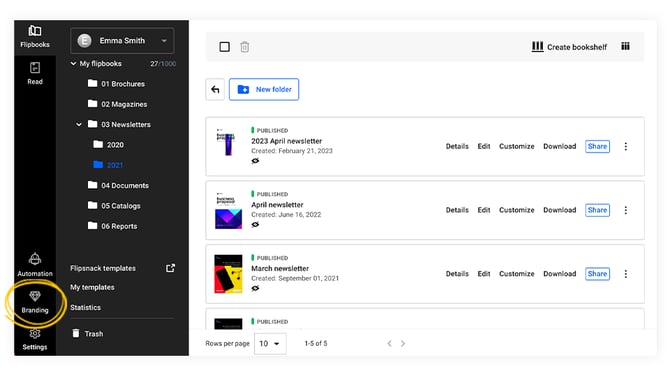
Accessing the branding page
The Branding page is where you can configure your workspace’s brand identity. Follow these steps to access it:
- Go to the My Flipbooks page (main dashboard).
- Look for Branding in the bottom left corner.
Available settings
Flipsnack’s workspace branding includes several key areas designed to keep your publications on-brand while saving time. Below is a breakdown of each section.
Profile settings
Your profile acts as a library for your published content. Here’s how to configure it:
- Go to Branding page > Brand Profile > Settings.
- Manage profile visibility: Set your profile to public or private.
- Specify a workspace URL: Choose a unique URL for personalization.
- Integrate Google Analytics or Google Tag Manager: Track engagement.
- Set Up a Custom Domain and SSL Certificate: Replace Flipsnack URLs with your domain (e.g. publications.yourcompany.com) and secure it with a custom SSL.

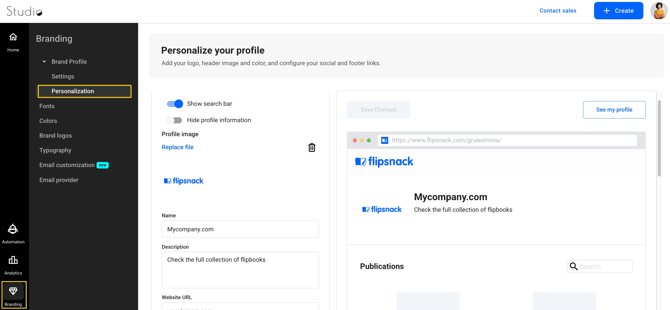
Profile personalization
Personalize your profile to align with your branding guidelines:
- Go to Branding page > Brand Profile > Personalization.
- Customize the header: Add your logo, adjust colors, and match your website’s style.
- Add a favicon: Upload a .ICO or .PNG file.
- Link social media channels: Connect official pages and add footer links.
Custom fonts
Ensure brand consistency by using custom fonts across all publications:
- Go to Branding > Fonts.
- Click Upload Font and select a TTF or OTF file.
Recommendation: Verify font licensing before uploading proprietary fonts. If you want to delete a font, just click on the trash can icon, then in the pop-up box that will open, select Delete.
.png?width=670&height=493&name=fonts%20for%20your%20publications-mh%20(1).png)
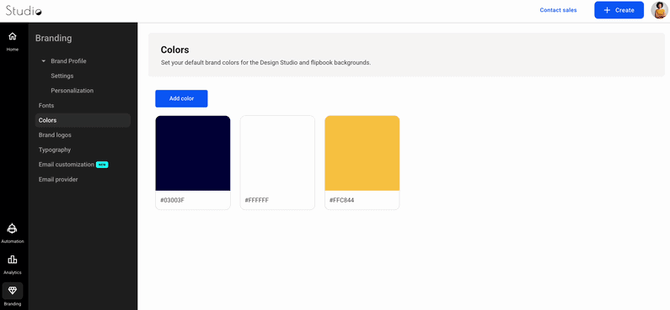
Color palette
Maintain a unified look with a consistent color palette:
- Go to Branding > Colors.
- Add your brand colors. Apply HEX, RGB, or HSL values for consistency.
- Use saved colors in the Design Studio or Customize page for easy access.
Logos
Your logo reinforces brand recognition across all digital content. Follow these steps to upload and configure it:
- Go to Branding > Logos.
- Click Upload Logo and add different formats.
- Store multiple logo variations for different content types.
.png?width=670&height=356&name=upload%20brand%20logo%20in%20Flispnack-mh%20(1).png)
Note: You can set up your logo, background color, and accent color when customizing your flipbook player and in your e-mail before sharing flipbooks with your audience.
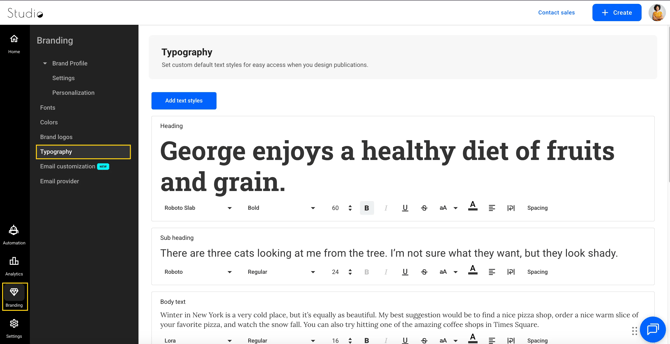
Typography presets
Standardize your text styling by setting up typography presets:
- Go to Branding > Typography.
- Click Add text styles and define your text presets.
- Standardize heading styles (H1-H4): Ensure consistent branding.
- Set body text and pagination: Apply preset fonts and sizes.
- Save presets for easy application to future flipbooks.
- Create up to 20 different styles to use.
Email customization
Customize the emails sent from Flipsnack to better match your brand:
- Go to Branding > Email customization.
- Replace the default logo with your own brand logo.
- Change the accent color used in the email template.
- Update the company name shown in the email content.
- Edit the footer description displayed at the bottom of the email.
- Preview your changes in the email preview panel.
- Click Save changes to apply your updates.
.png?width=670&height=344&name=email%20customization%20in%20Flipsnack-mh%20(2).png)
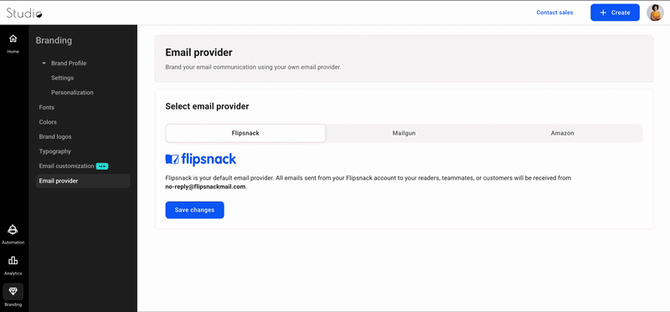
Email provider
Choose how emails are sent from Flipsnack, either through the default Flipsnack provider or through your own connected provider:
- Go to Branding > Email provider.
- Select one of the available providers: Flipsnack, Mailgun, or Amazon.
- Choose Flipsnack if you want to use the default sending option.
- Choose Mailgun or Amazon if you want to send emails using your own domain.
- Fill in the sender details and provider credentials required for the selected option.
- Review your setup before saving.
- Click Save changes to apply your changes.
Next steps
Ready to take the next steps? Explore our other detailed guides:
-
Flipsnack Academy: Setting up a custom domain or subdomain
Need expert support?
Our team is here to help. Connect with our team experts or message us via the in-app chat for a personalized demo.