Mailchimp is one of the biggest email platforms in the world. In this article, I’ll show you how easy it is to send your flipbook to your email list using Mailchimp. But before getting into more details, I want to remind you how to copy the embed code of the flipbook you want to send.
Important note: Keep in mind that the email embed code is not the same as the flipbook embed code. Also, an embedded flipbook in your email will only open in a new tab if clicked on.
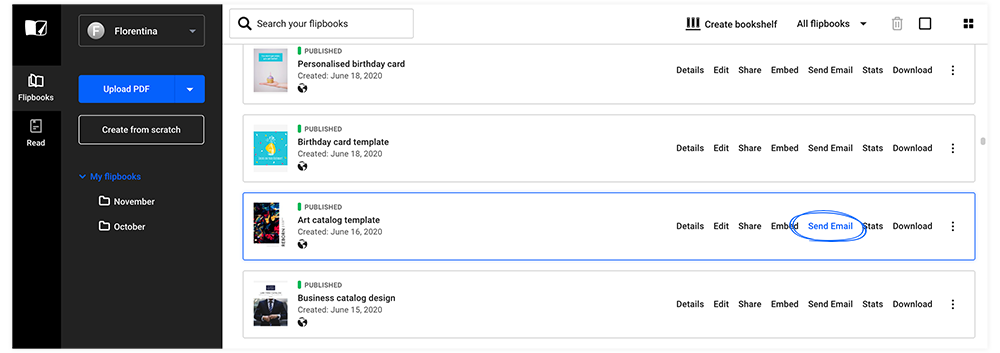
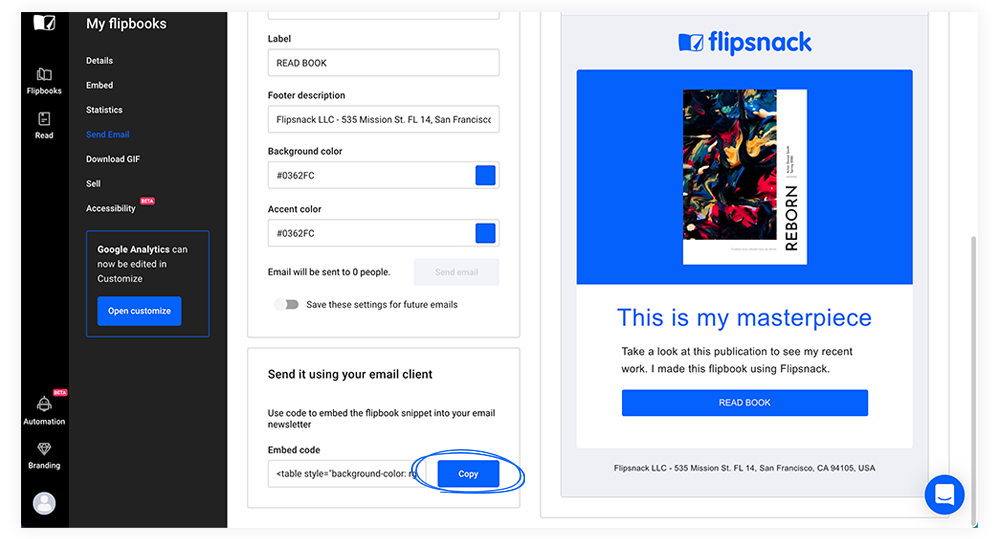
Once your flipbook is published, head over to your list of flipbooks, find the flipbook that you want to share via email, navigate to the right side, click on Share, and then click on Send Email. Down at the bottom of the newly opened page, you will find the embed code for email in the section titled Send it using your email client.
Right after that, feel free to edit the email’s title, description, etc. And now simply copy the embed code.
Now that I’ve clarified this part, let’s move on to the next part.
How to send a flipbook email through Mailchimp1. Sign in or Sign up in Mailchimp.
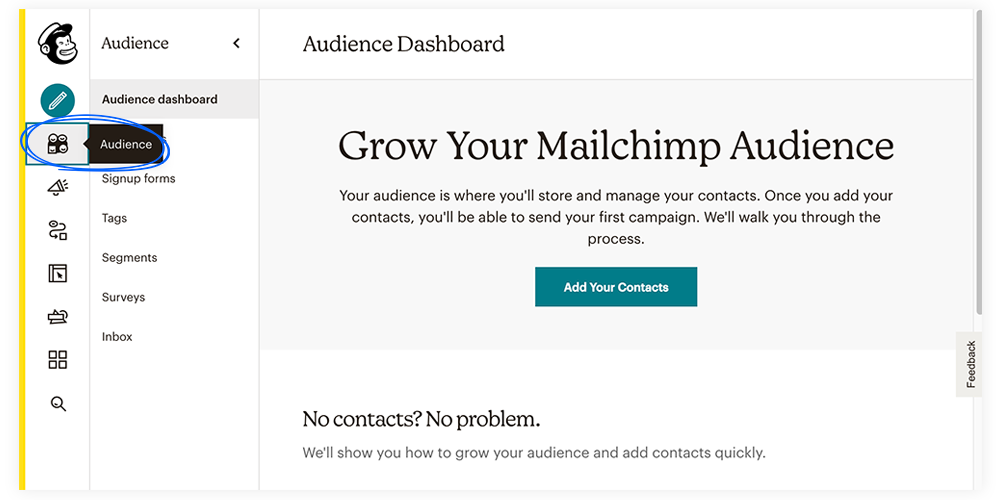
2. Add the contacts you want to receive in your flipbook by clicking on the Audience button from the left sidebar.
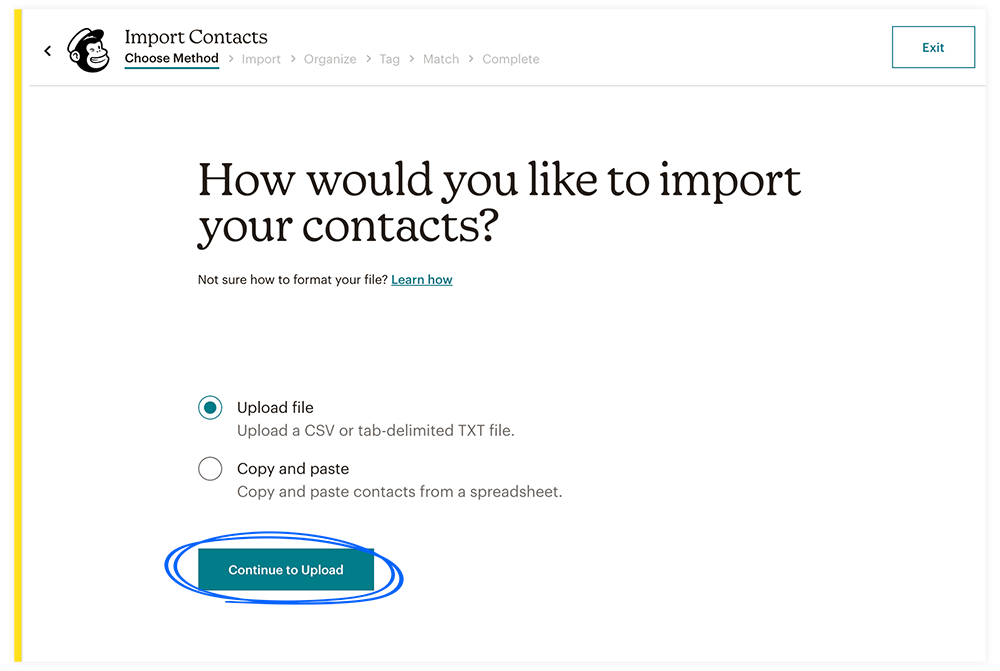
You can import your contacts by uploading a CSV or a TXT file or by just copying and pasting contacts from a spreadsheet.
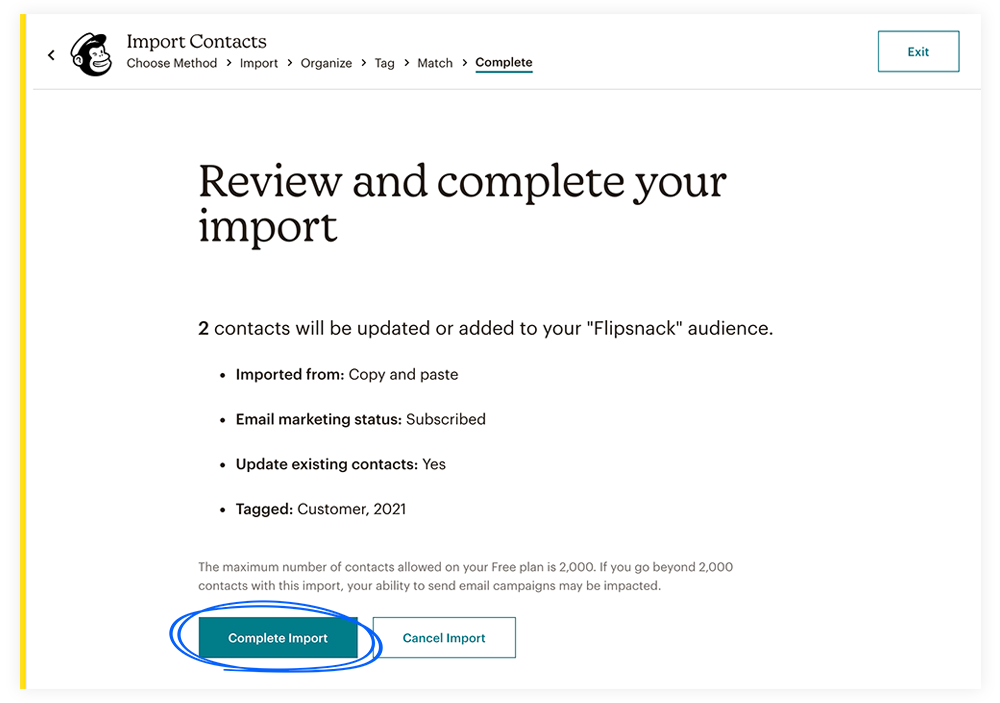
You have the option to organize your contacts and tag them before importing them. Once you're done with these steps click on Complete Import.
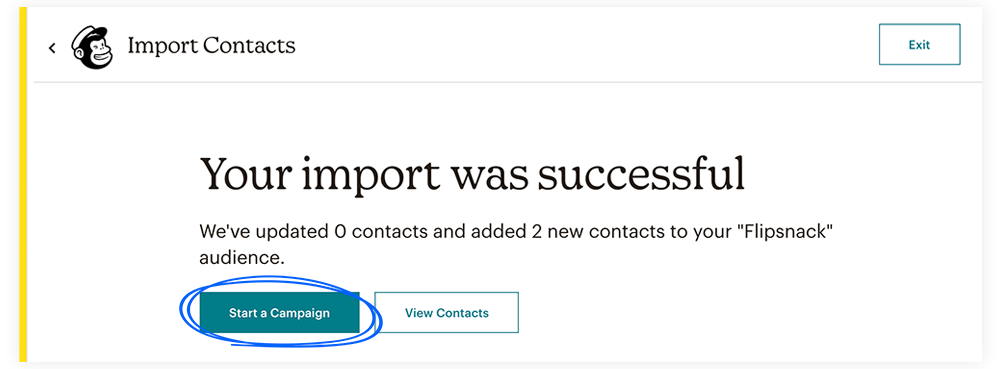
3. Now you can start a targeted email campaign.
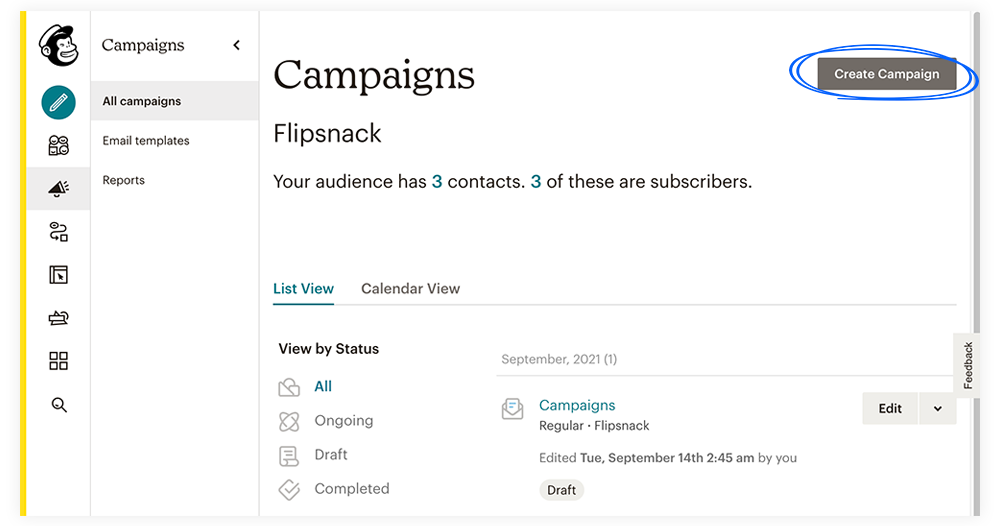
4. The first thing you need to do is to click on the Campaigns button from the left sidebar. Next, click on Create Campaign.
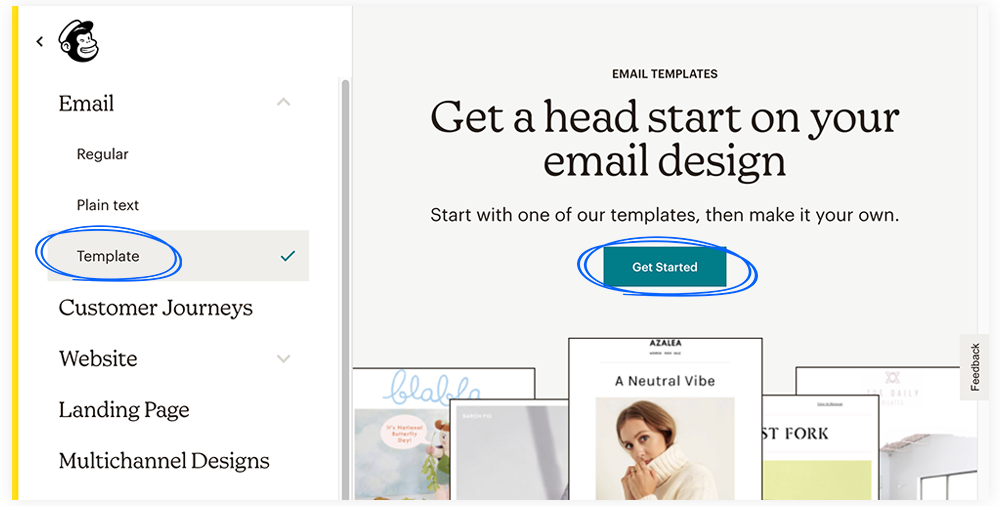
5. On the left sidebar, click on Email and select the Template option. Head over to Get Started.
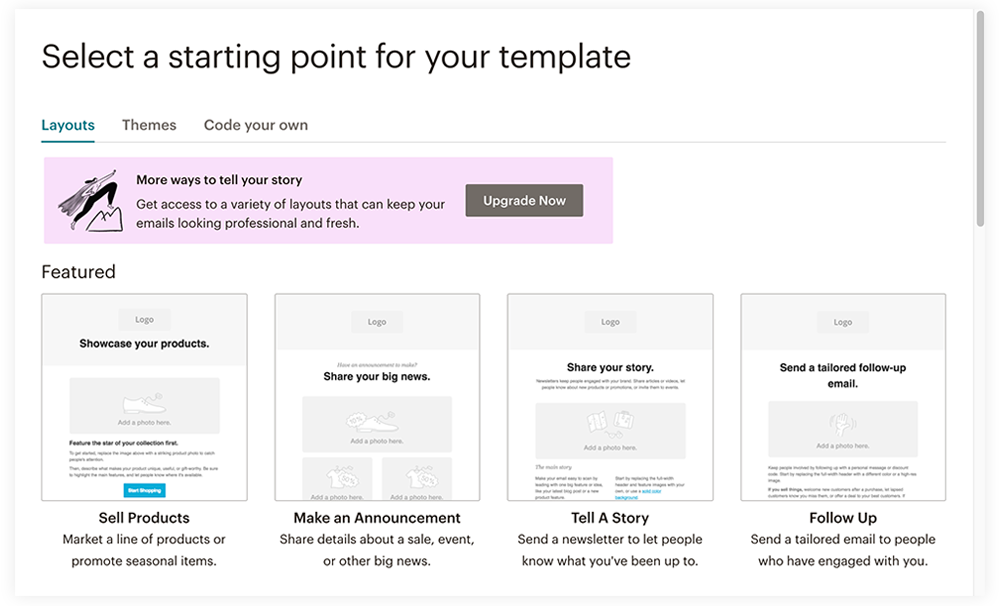
6. You have the option to choose a layout, a theme, or code your own template. For the latter, you need to have a premium Mailchimp plan.
7. However, if you choose to select a layout or a theme, in the Blocks section, you will have the option of dragging and dropping the Code block.
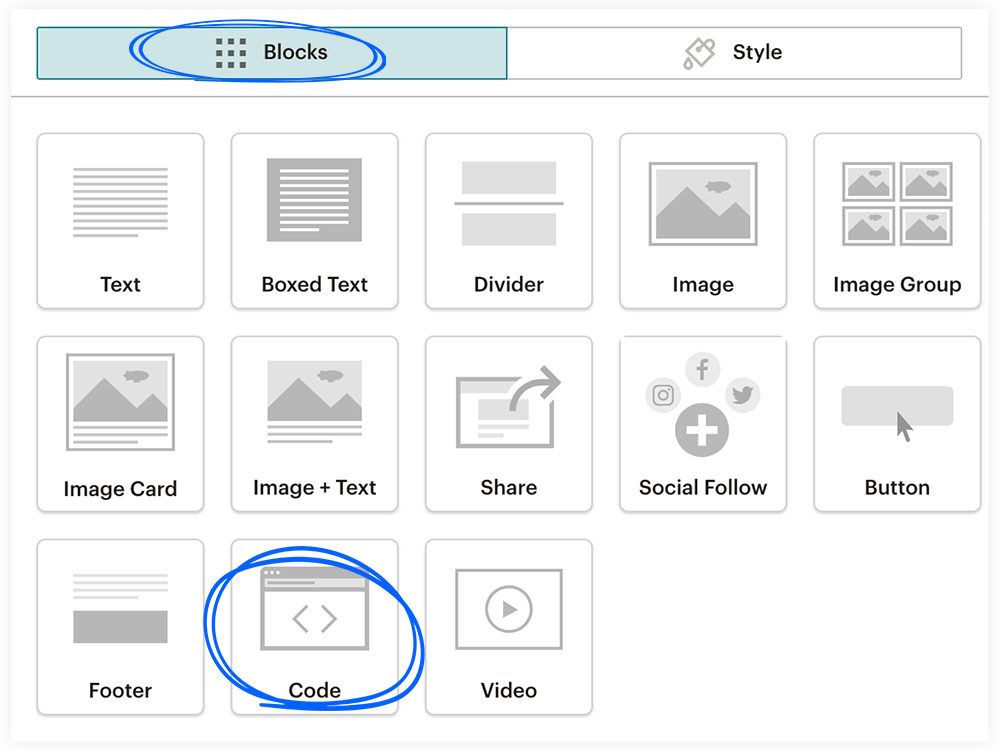
8. After you drag it wherever you want in the template, you will paste the code of your desired flipbook on the right. Make sure the text box is empty when you paste your embed code.
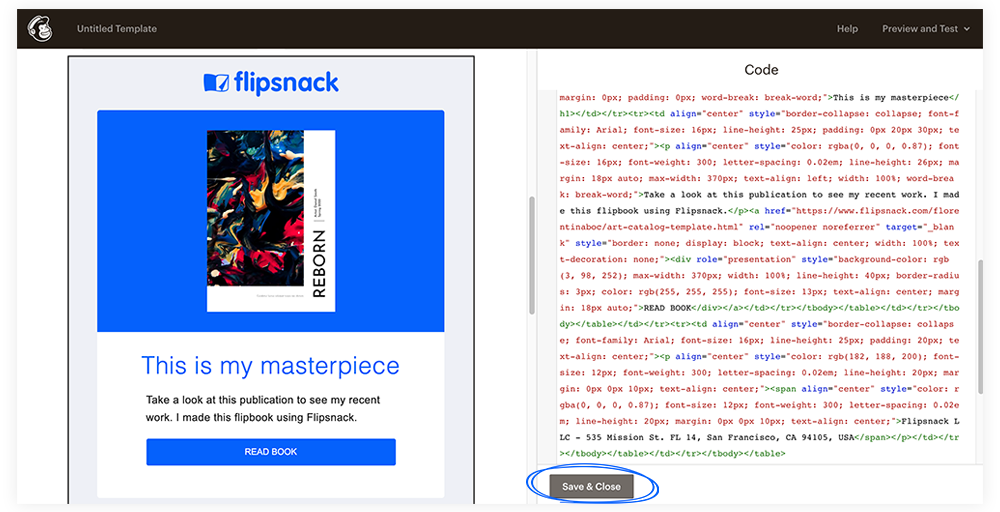
9. After you paste it, just click Save & Close. This is how it should look:
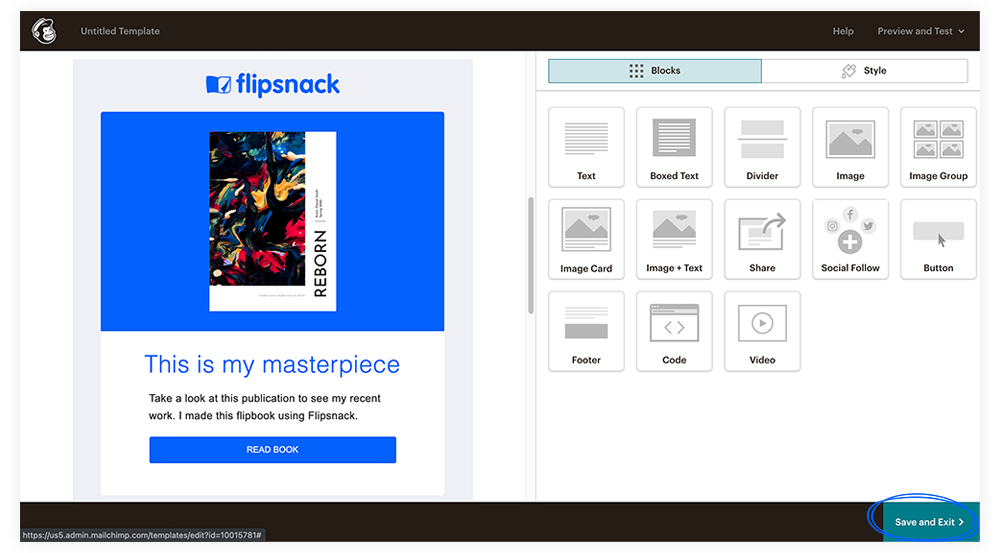
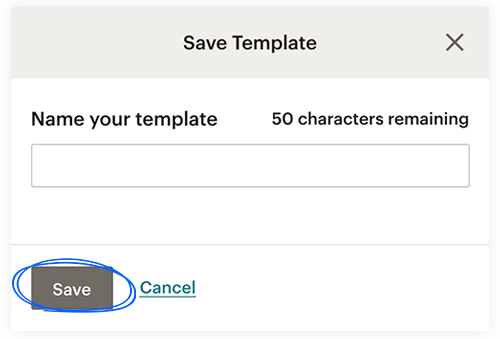
10. Make the design changes you want, and then click on the Save and Exit button and name your template and Save it.
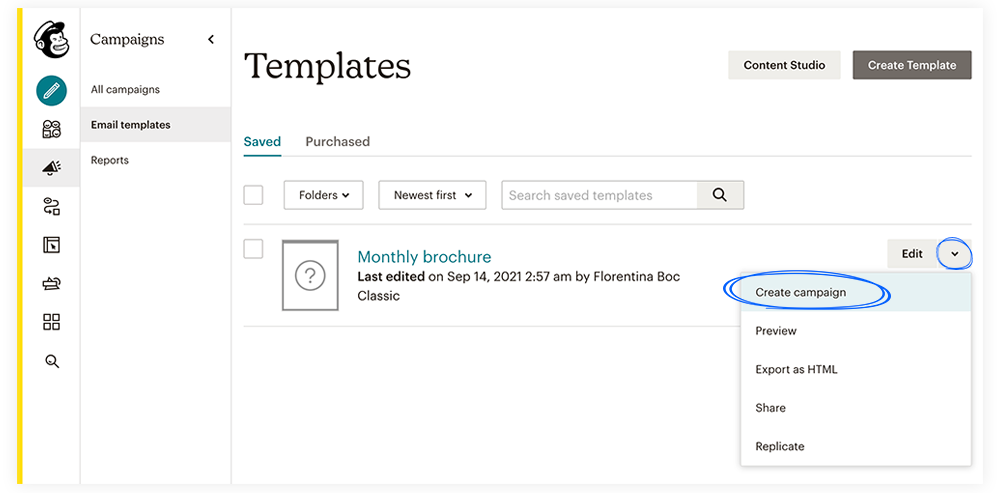
11. Now it’s time to send your publication via email. Go to your email templates, click on the one that you’ve just created and want to send it. Next to the Edit button, click on the arrow, and select the Create campaign option.
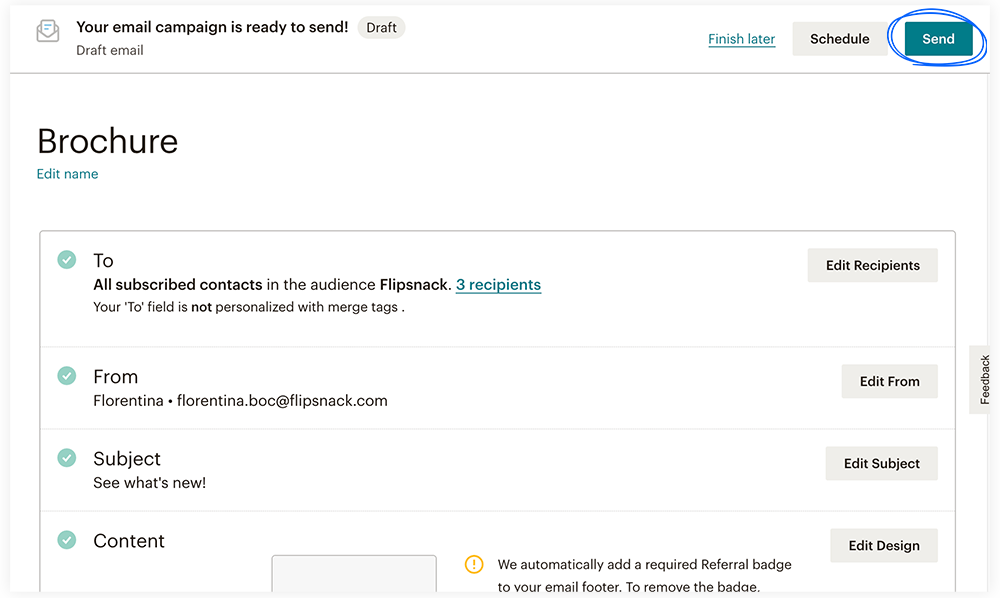
12. Customize your email campaign by personalizing the required fields, then simply click on Send. Keep in mind that all the recipients that you’ve added at the beginning will receive an email notification with your shared flipbook.
Keep in mind that you can always send your flipbook as an email directly through Flipsnack or via other platforms, such as Mailjet and Constant Contact.
And that’s it! If you have any questions, please contact our support team via live chat.