Table of Contents
- How to create folders and subfolders
- How to add flipbooks to folders
- How to move flipbooks from one folder to another
- How to find a flipbook without browsing through folders
- Next steps
Overview
This guide explains how to use folders and subfolders in Flipsnack to manage flipbooks efficiently, especially in teams and large organizations. It covers how to create, organize, move, search, delete, recover, restrict access to, and share folders and the flipbooks inside them.
Key benefits of using folders and subfolders
- Enhanced efficiency: Quickly locate and manage flipbooks without unnecessary searches.
- Better collaboration: Ensure team members have access to the right content while restricting unnecessary access.
- Scalability: Organize content based on teams, departments, clients, or campaigns—ideal for growing organizations.
- Time-saving: Reduce time spent on content management with drag-and-drop functionality.
- Access control: Protect sensitive information by managing who can view specific folders.
Requirements:
Folders and subfolders: Available for all paid plans
Share folder: Enterprise plan.
How to create folders and subfolders
To create a new folder:
1. Access the Dashboard in Flipsnack
2. Click on the three-dot menu, then click on New folder.
 Alternatively, you can right-click on Team, then click New folder.

3. Select New folder, name it, and click OK.
Creating a subfolder follows the same process: right-click on an existing folder, choose New folder, name it, and confirm.
Note: There are no restrictions on the number of folders or subfolders you can create, making this feature ideal for large organizations managing vast content collections.
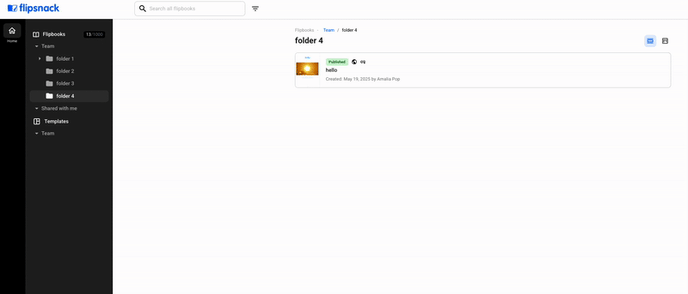
How to add flipbooks to folders
To add flipbooks to folders, simply drag and drop flipbooks from the right-hand section of the Dashboard into the appropriate folder.

How to move flipbooks from one folder to another
If you want to change the folder of your flipbook, you can relocate it easily.
1. Open the folder where the flipbook is currently stored.
2. Find the flipbook you want to move.
3. Drag and drop it into another folder.
How to find a flipbook without browsing through folders
No need to dig through every folder. Just use the search bar:
- Go to your Dashboard.
- In the Search bar, type the name of your flipbook.
- Press Enter.
To locate the folder it’s in:
- Hover over the flipbook, click the three-dot menu, then select Go to folder.

How to delete and restore a folder
If a folder and its contents are no longer needed, they can be deleted with just a few clicks:
- Right-click on the folder you want to remove or click on the three-dot menu.
- Select Move to trash. The folder and its contents will be sent to Trash automatically.

How to recover deleted folders
If a folder is deleted by mistake, it can be restored.
Navigate to Trash, right-click on the deleted folder, and select Recover to restore it along with all contained flipbooks.

How to restrict access to a folder
For businesses managing sensitive content, restricting access to specific folders is essential.
To control folder permissions:
- Go to Settings > Permissions settings.
- Enable Disable access to other teammates' folders and choose who won’t have permission to your folders.

Note: When this setting is activated, team members can only view their assigned folders unless they already have content stored in shared folders. This is particularly useful for organizations managing content across multiple departments or teams.
How to share multiple flipbooks
Sharing multiple flipbooks at once can improve efficiency and collaboration. With the Share folder feature, teams can consolidate flipbooks into a folder and share them seamlessly.
Important: Each folder must be shared individually through a unique link.
- Add the flipbooks you want to share into a folder.
- From the Dashboard, select the folder you want to share, right-click on it, and choose Get share link.

3. A pop-up will appear, allowing you to choose between Public or Private sharing.

Public sharing: If selected, the flipbooks will be visible on your Flipsnack profile.
Private sharing: If you prefer to share flipbooks privately, go to the Settings > Readers and enable Share folders to your readers.

Once enabled, any future shared folders will be accessible directly to assigned readers. Your readers will be able to access the shared flipbooks from their Flipsnack's workspace. They will see a new folder with the flipbooks they have access to.
Important: A flipbook cannot be assigned to multiple folders. Once a flipbook is moved into a folder from the Dashboard, it will only exist in that specific folder.
Next steps
Useful resources
Maximize operational efficiency by combining folder organization with:
Need expert support?
Our team is here to help. Connect with our team experts or message us via the in-app chat for a personalized assistance.