How to organize, delete, or replace pages in Design Studio
Learn about the different page options in Flipsnack's Design Studio
Table of contents:
How to access the page layout settings
Editing options in the pages panel
How to change the background color
There may be instances where you need to replace or edit specific pages in your flipbook without making changes to the entire publication. A page might have typos, missing information, or outdated content, just to name a few reasons. The changes will be made under the original link, so your readers will have easy access to the document.
With Flipsnack, you can easily organize the pages of your publication to suit its purpose best.
Here’s how to do it:
How to access the Pages panel
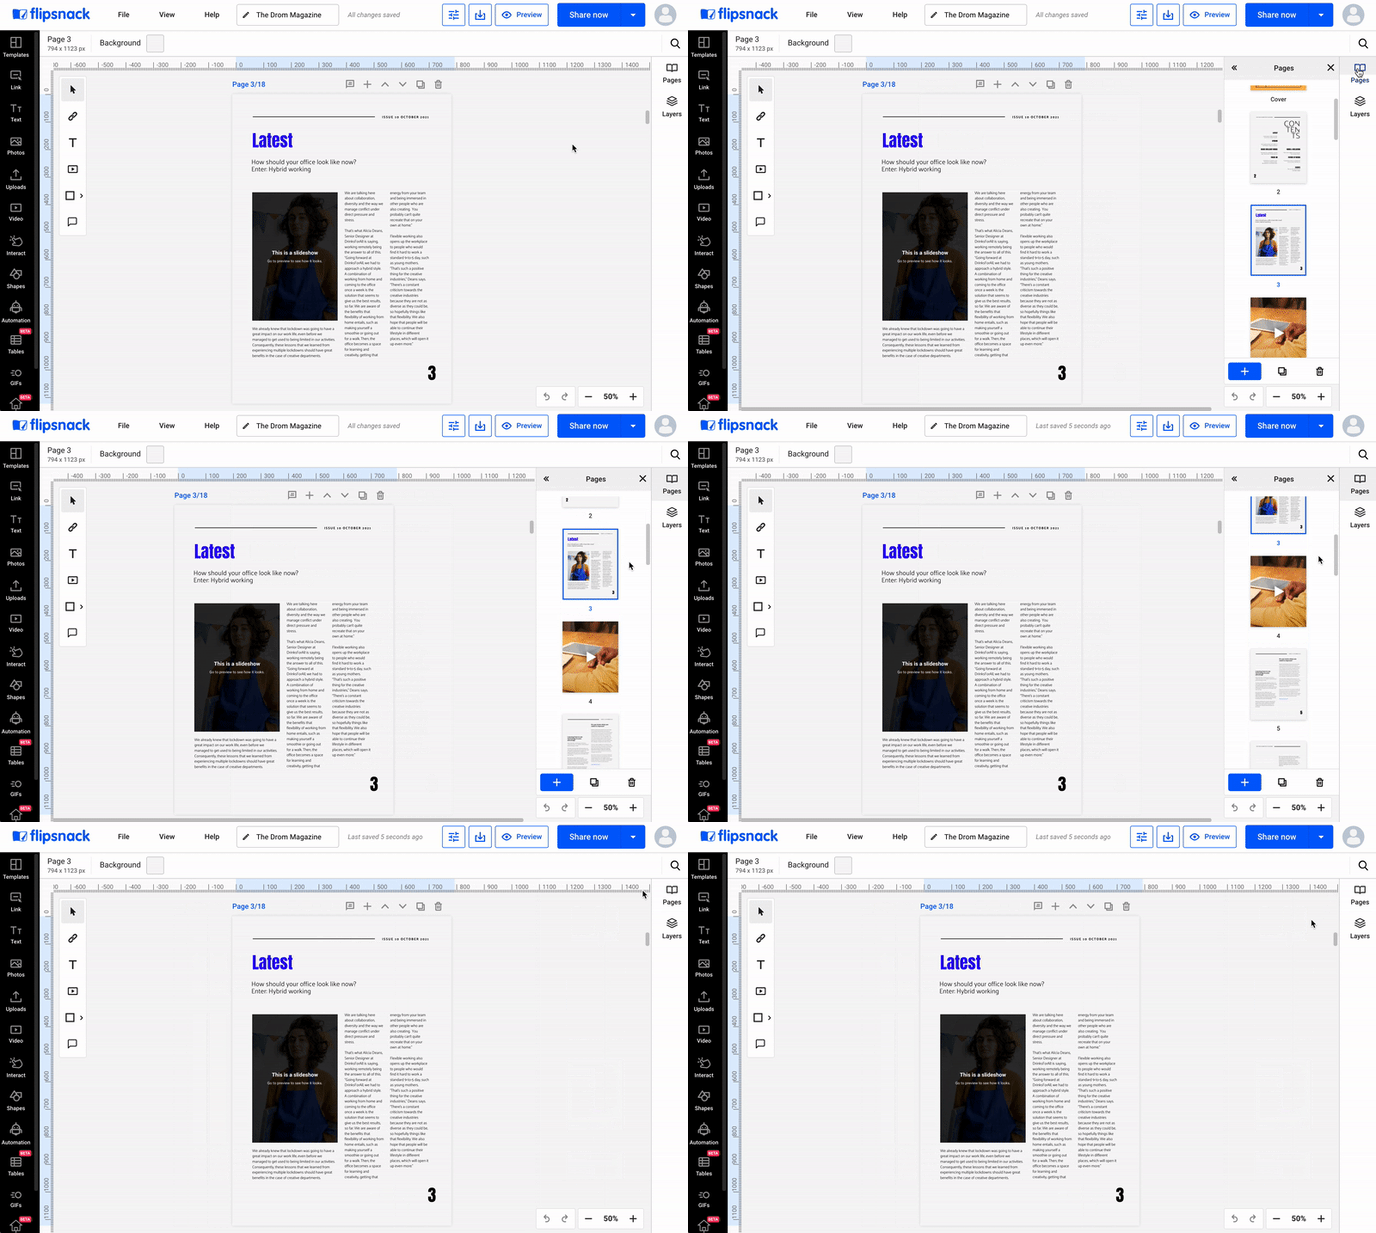
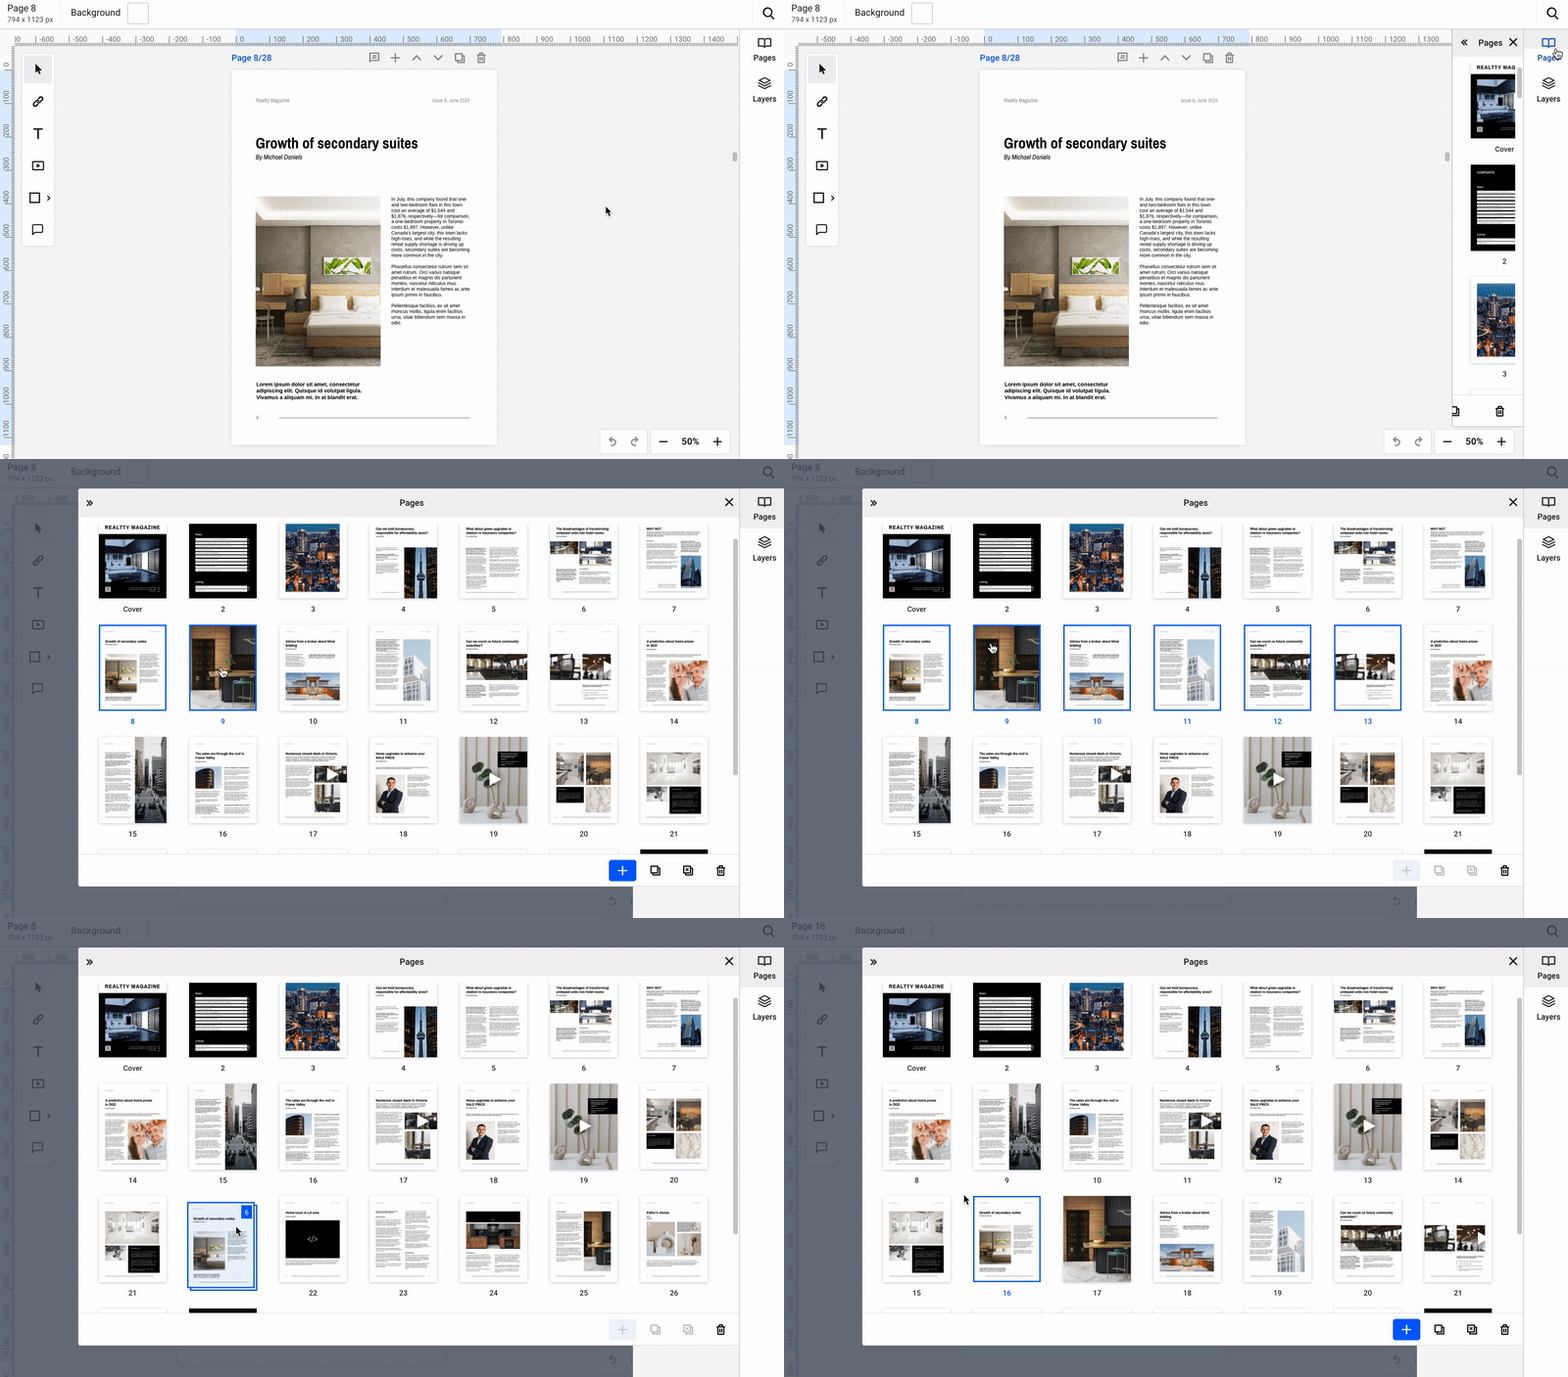
When editing your publication in Design Studio, you can access the pages panel by clicking on the Pages button on the right-side panel.
How to access the page layout settings
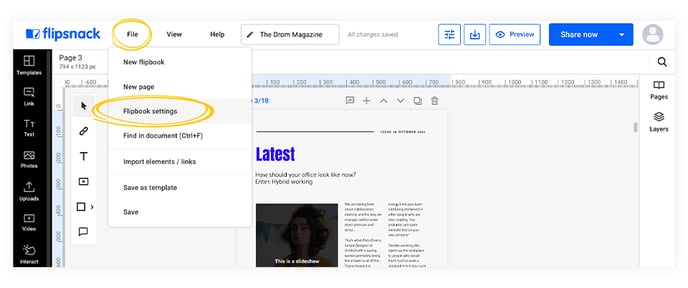
Click on File in the header, then on Flipbook settings to access the Page Layout settings.
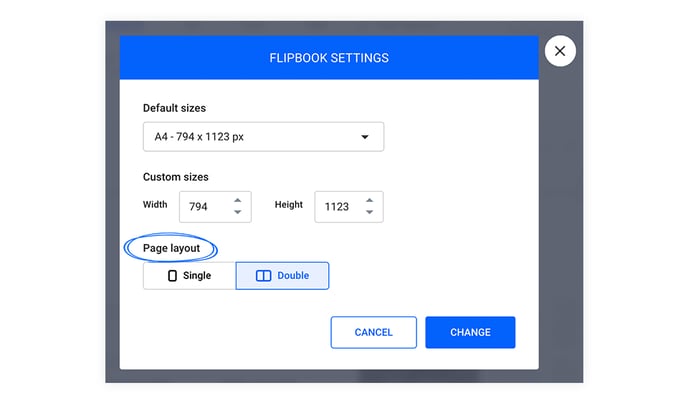
Here is where you can choose between a single or a double-page layout.
Editing options in the pages panel
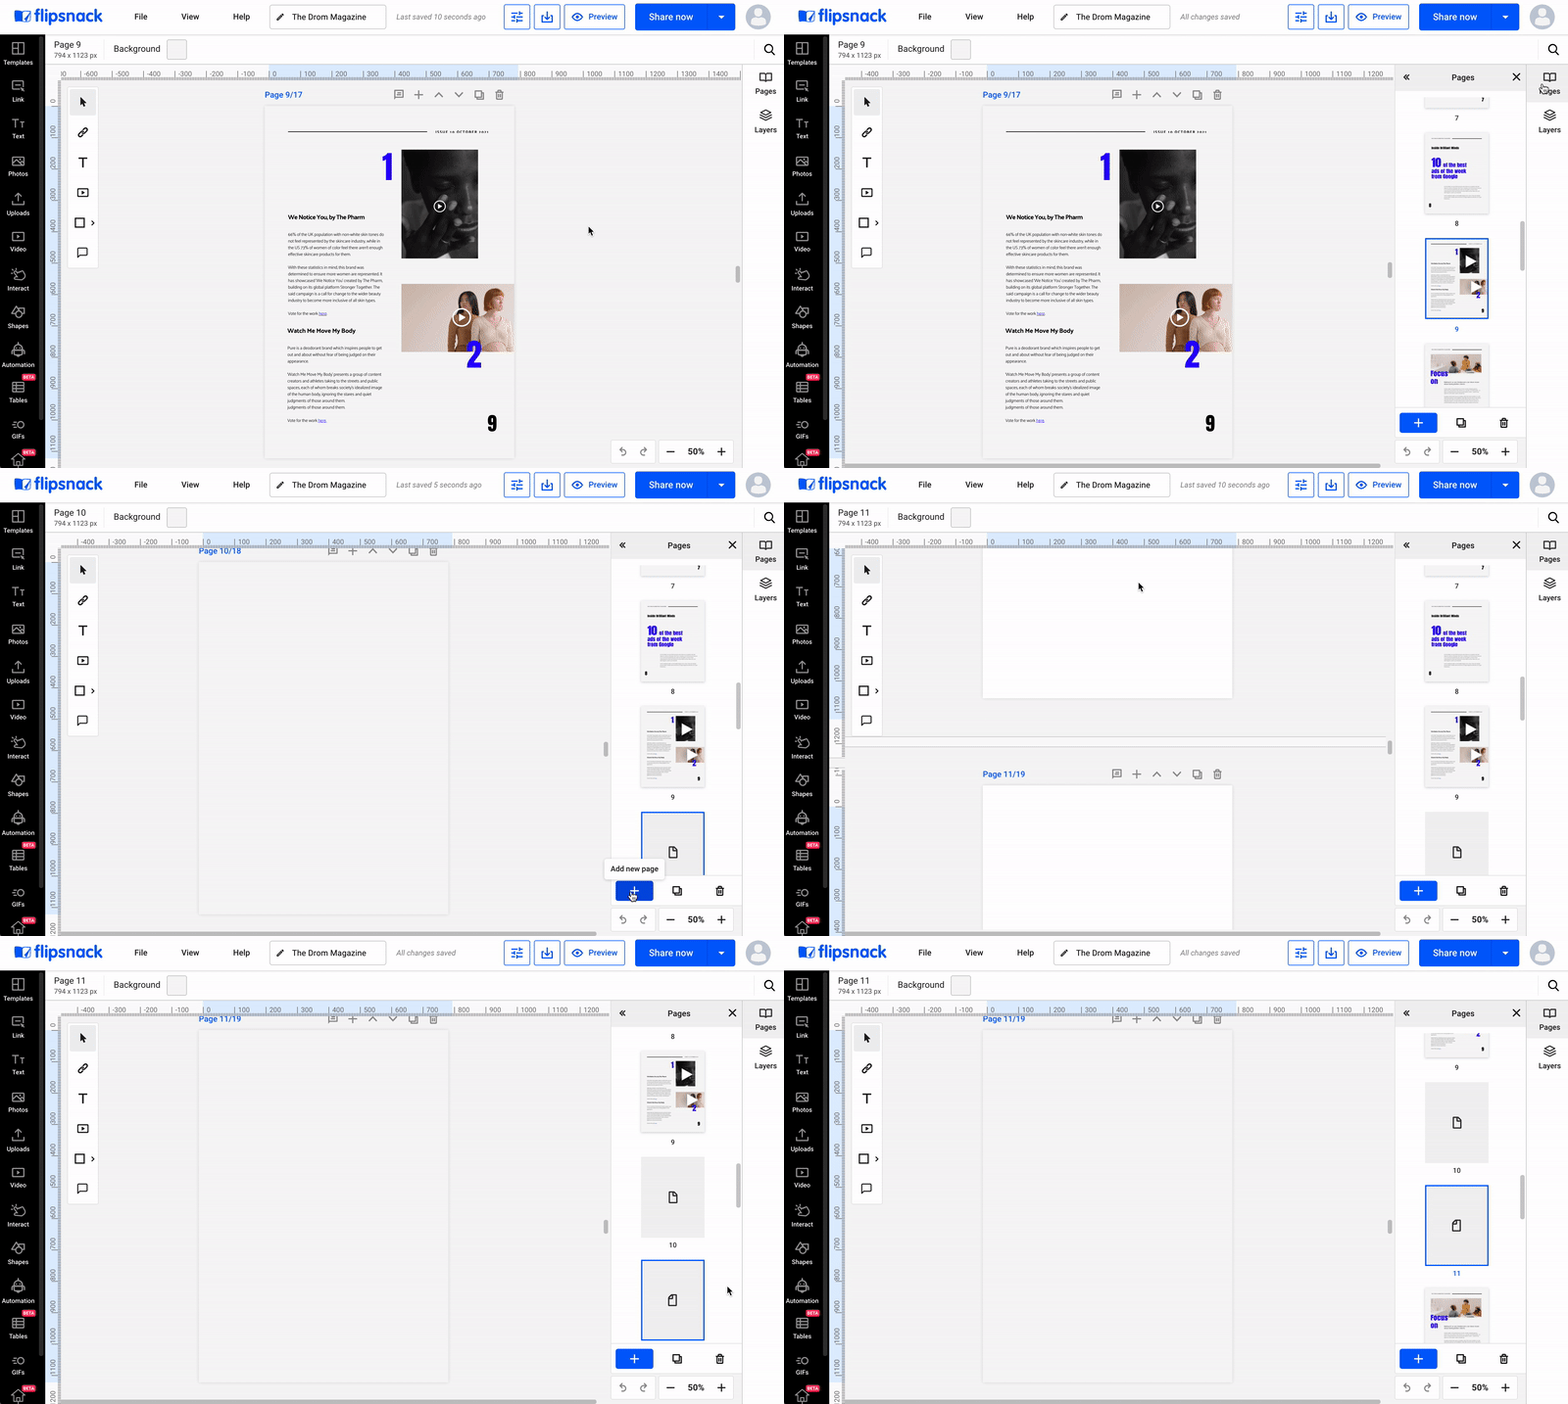
Whether you choose a single or a double-page layout, the editing options are the same. They can be found at the bottom of the Pages panel.
Add new page
Clicking on the Add new page button will add a new page.
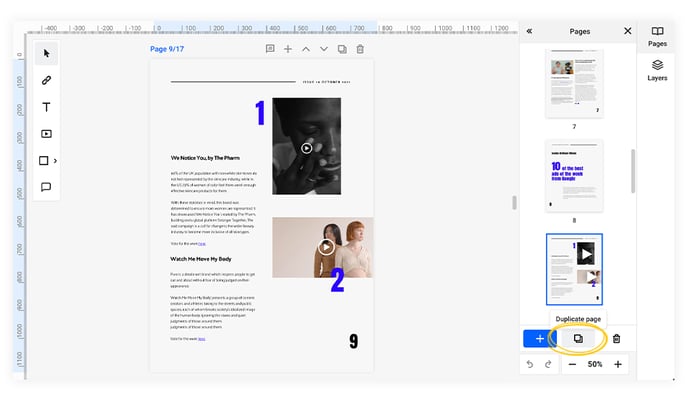
Duplicate page
Clicking on the Duplicate page button will copy the page. Doing so will also copy any interactive elements the page might contain.
Delete page
Clicking on the Delete page button will delete the page.
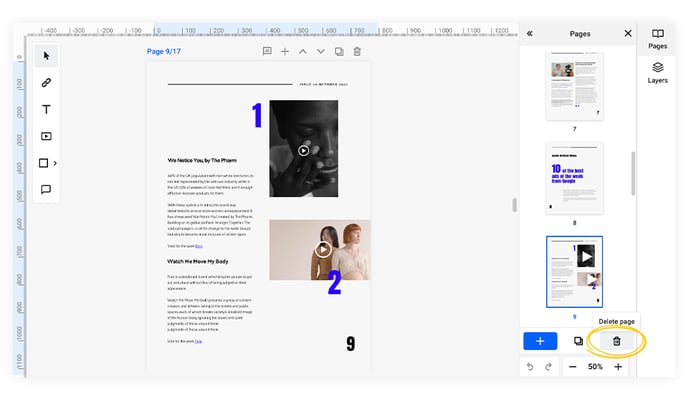
Important: Be careful what pages you want to delete because this action can’t be undone.
How to reorder the pages
You can find the thumbnail representation of each page in both the side panel and the extended panel that displays the pages of your flipbook. To access the extended panel, simply click on the Expand panel arrow icon. You can move pages around as you wish with a simple drag and drop.
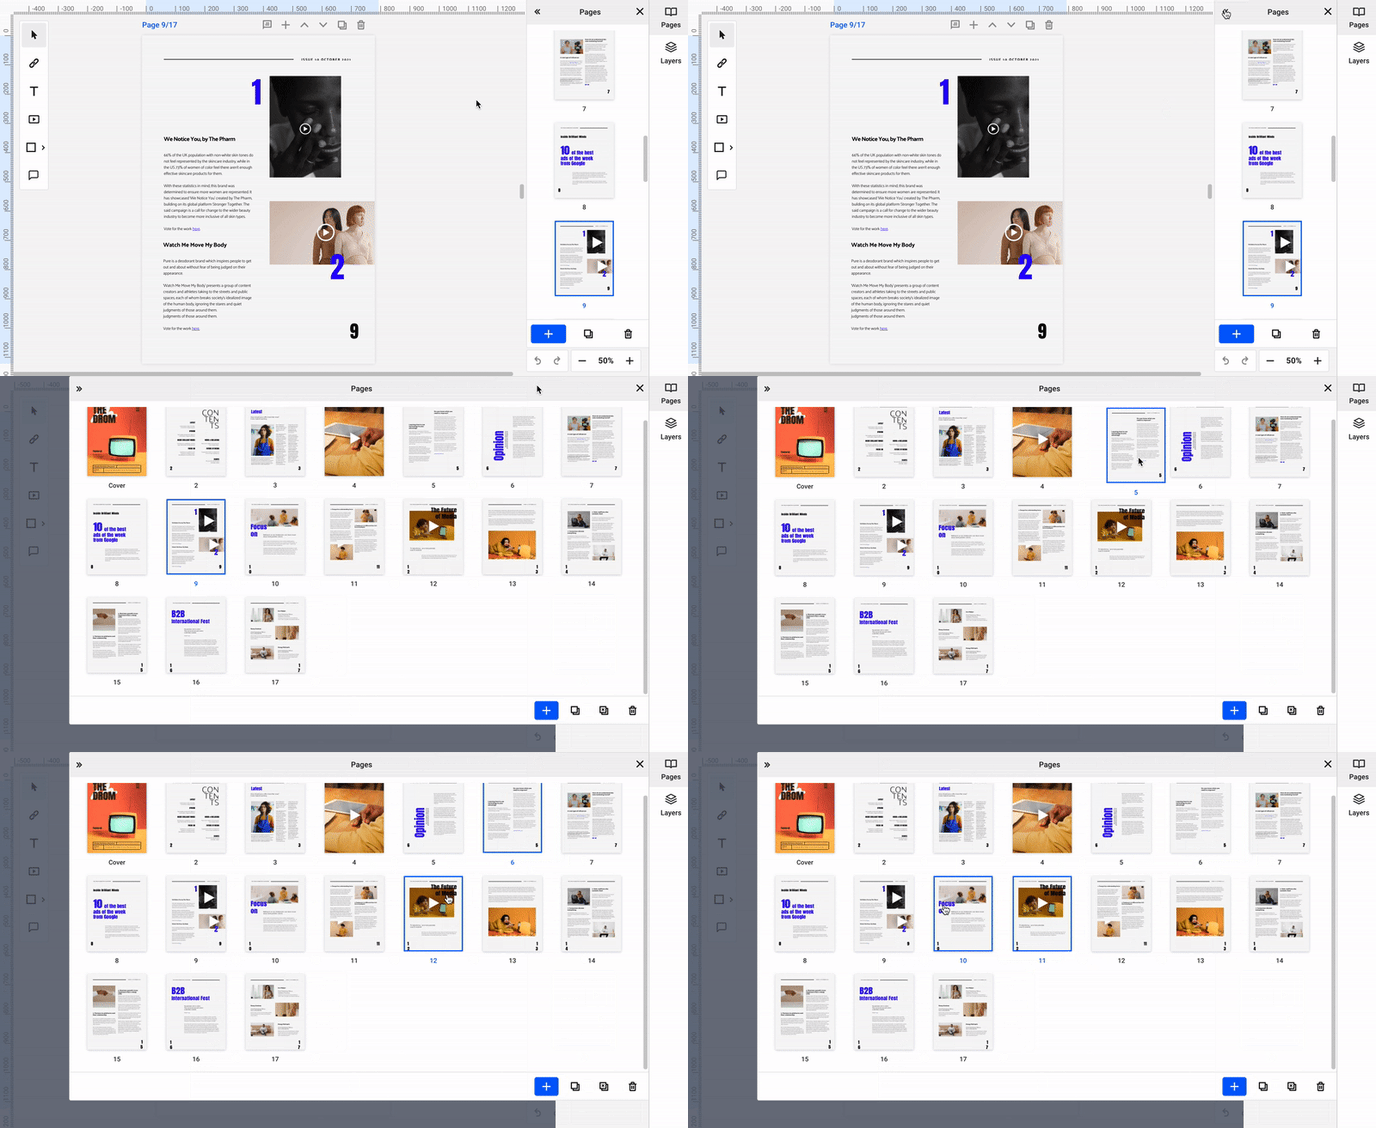
Note: There are two scenarios to consider if your publication has page numbering. If you have created the document from scratch, you can easily change the numbering in our Design Studio. If you have created the document through a PDF upload, you will need to modify the pages in the PDF and re-upload it. You will then be able to replace the pages.
Besides being able to reorder the pages, you can also select multiple pages at once. All you need to do is hold the CTRL button (Command key on Mac ⌘) and click the pages you want to select. The selected pages will be highlighted.
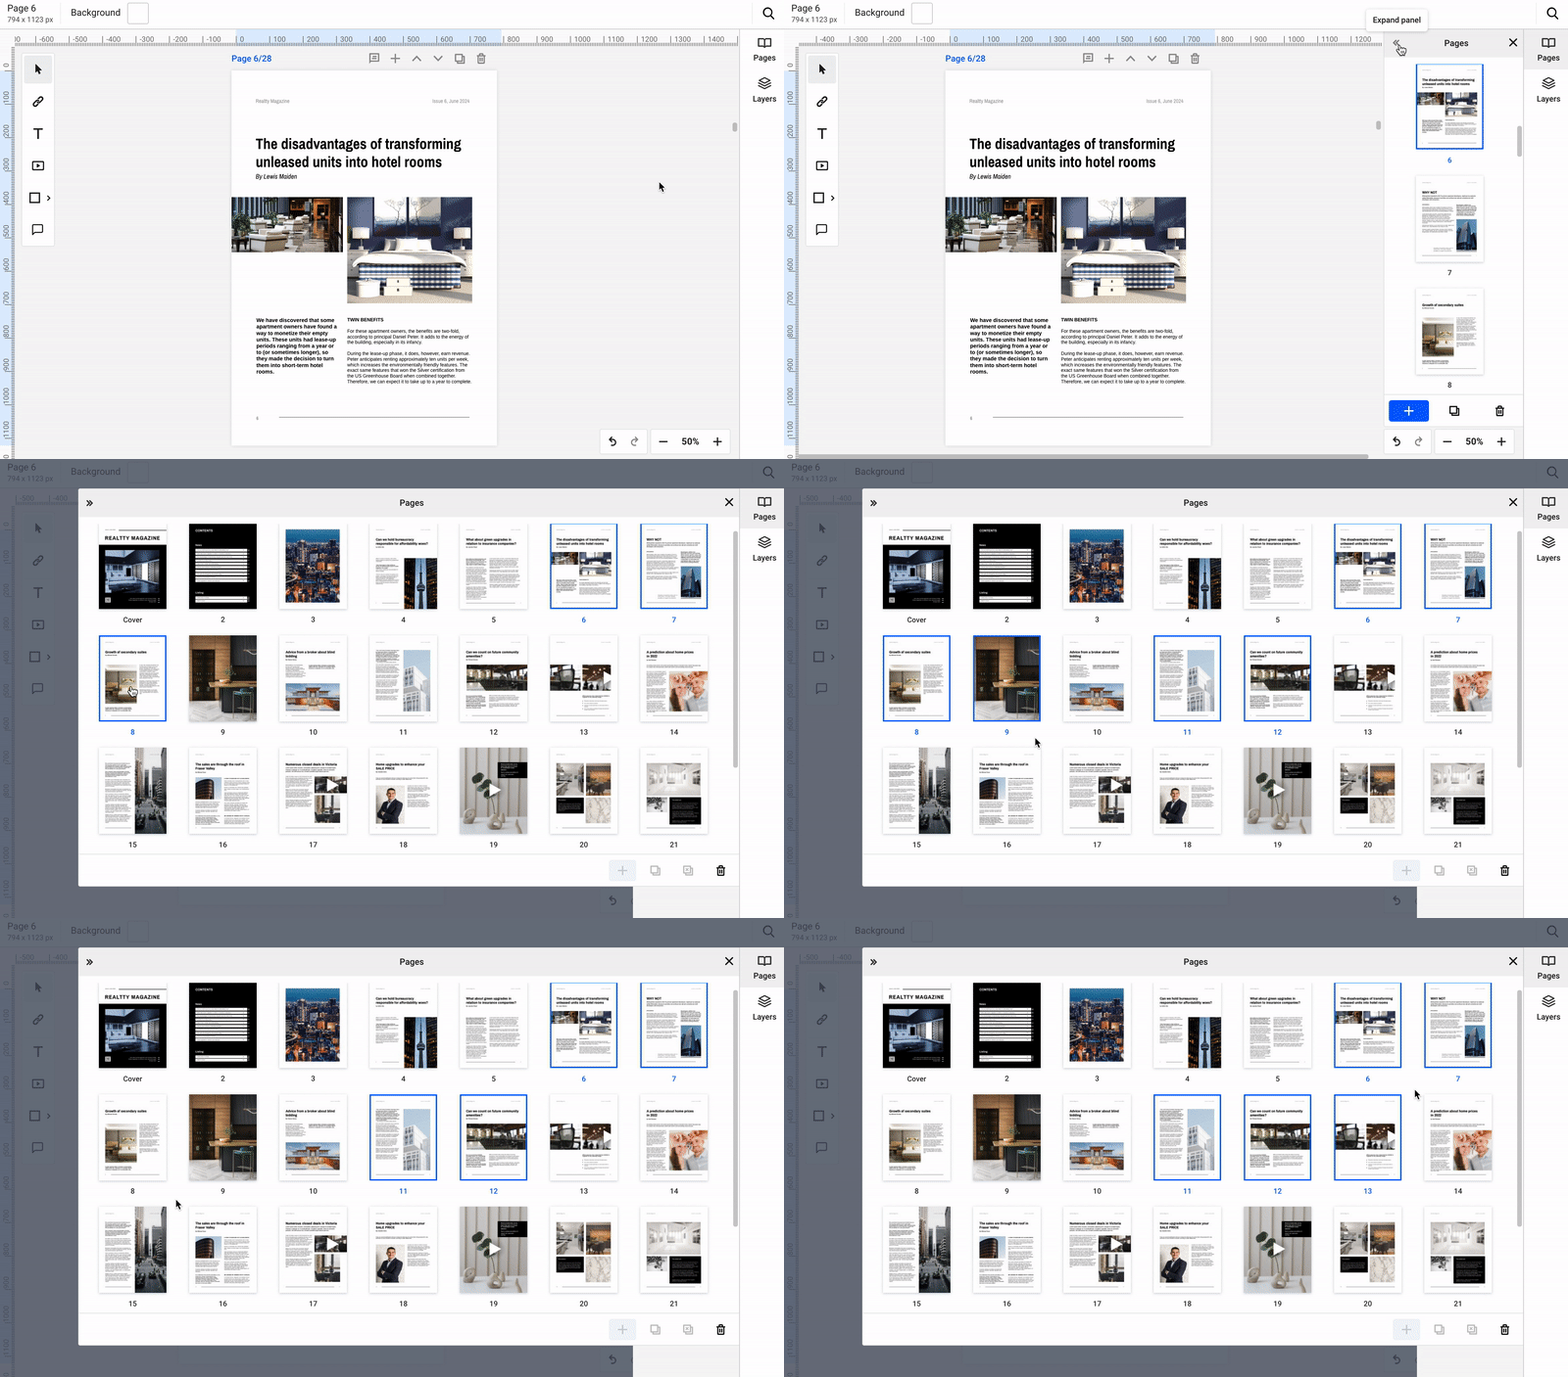
You can also select multiple rows in the Extended panel by holding the Shift key(Modifier key ⇧ on Mac). Simply select the first page of interest and then the last one. The entire section in between will be selected!
How to replace the pages
Tip: When replacing pages, it is important to export and upload them in PDF format to maintain their quality. If you export pages in jpg/png format, they will lose quality.
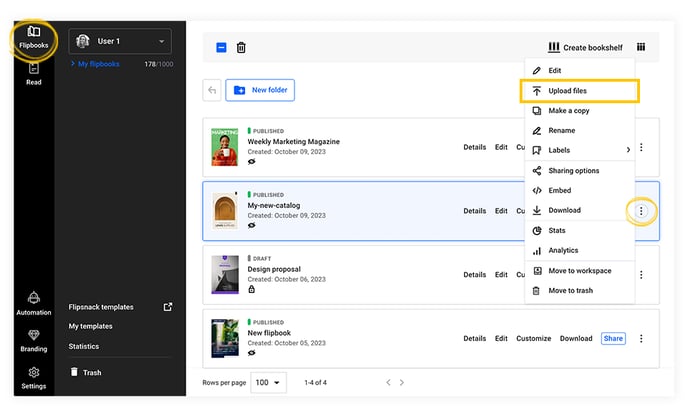
Replacing the pages can only be done for flipbooks created through PDF upload. While in the Main Dashboard, click on the three dots next to the desired flipbook, and choose Upload files.
At this moment, the upload process is repeated, with the newly uploaded pages being added at the end of the document in Design Studio. From the Customize page, which you will access after the upload, you need to click on Editor. You can now rearrange and/or delete the pages that need to be replaced.
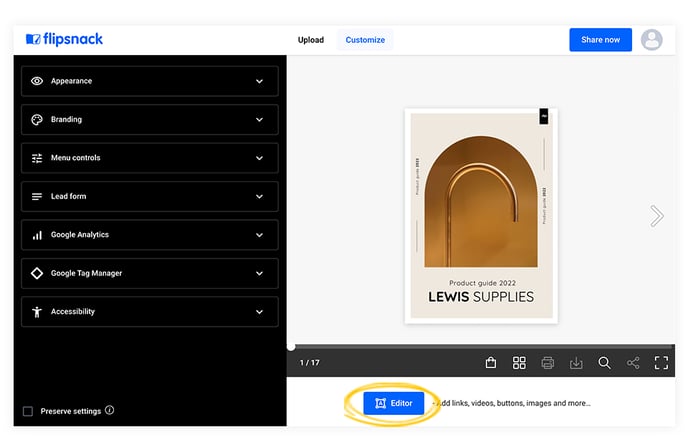
Note: For the changes to take place, you will need to click on Share now, then Update.
How to change the background color
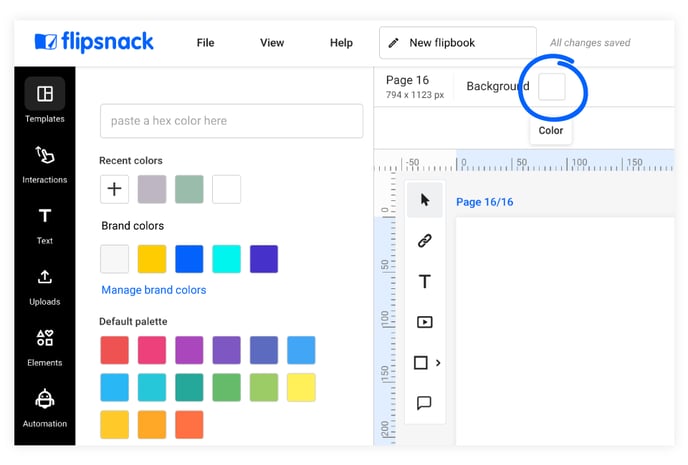
For an extra touch of personalization, you can change the publication’s default white background color by clicking on the color button. Either choose from a selection of colors or paste the hex code. You can individually adjust the color for each page.
Tip: Once you finished editing your flipbook, we recommend setting the flipbook in the single-page layout to make sure the elements are positioned correctly. This way, in Customize, you can set the page view to Smart view, for increased responsiveness on different types of devices.
If you have any questions, let us know by dropping us a line in the chat!