Table of contents:
Creating a buy button in Shopify
Adding the code to your Flipsnack catalog
If you own an online product catalog, one great way to simplify the shopping experience for your customers is to connect the catalog to your Shopify store.
With the help of a Shopify buy button, users can directly add products to the cart from the catalog. The only time they will have to leave the catalog is to do the checkout.
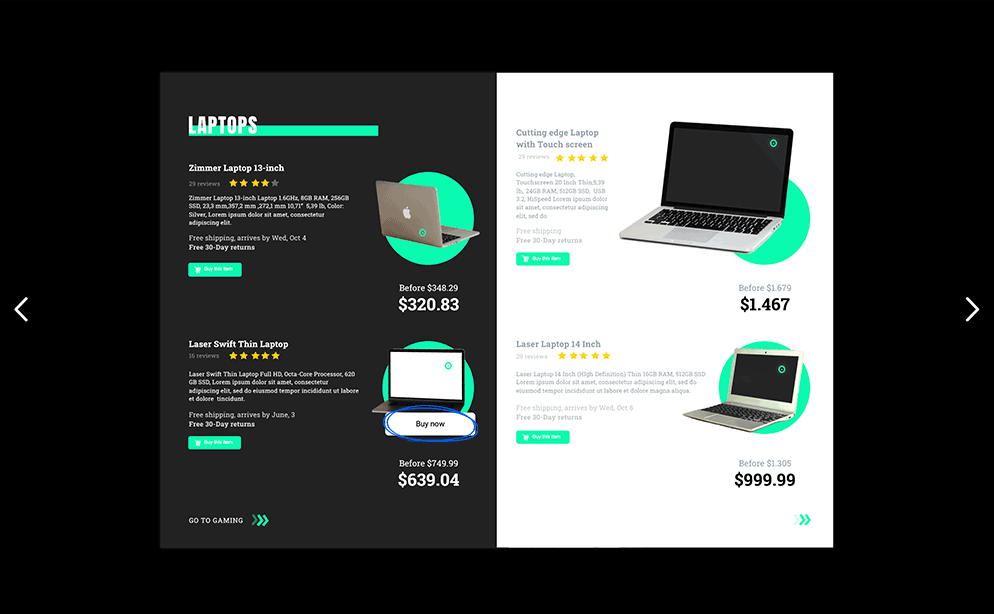
The process is straightforward from the customer’s point of view. They see an item they like, they click on it, and the catalog displays the information based on the data from your Shopify store. Once they have selected all the desired items, they click on checkout, where they have to fill in the required information to finalize the purchase.
Once your Shopify store is populated and ready for business, there are a few steps you need to take to connect a Shopify button to your product catalog in Flipsnack.
Creating a buy button in Shopify
-
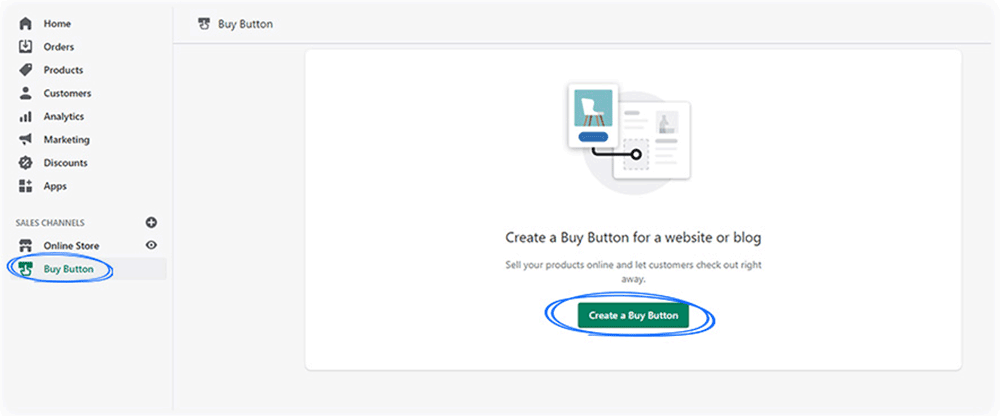
On Shopify, click on the Buy button and then click on Create a buy button.
-
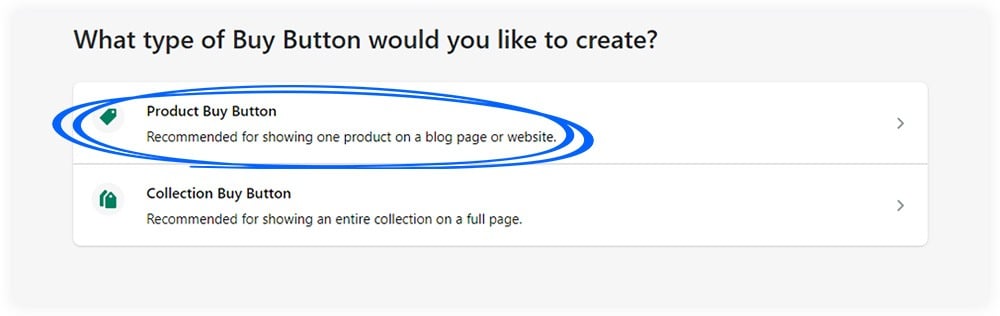
Based on your needs, click on the Product buy button or the Collection buy button. In this example, we chose the Product Buy Button.
-
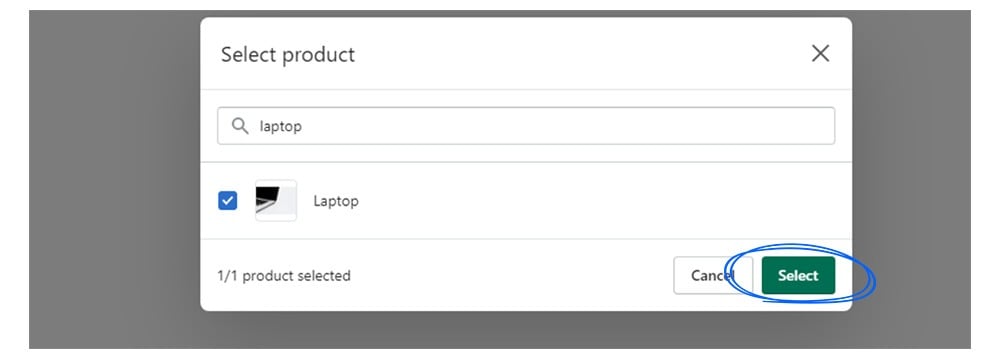
Search and select a product, then click on the Select button.
-
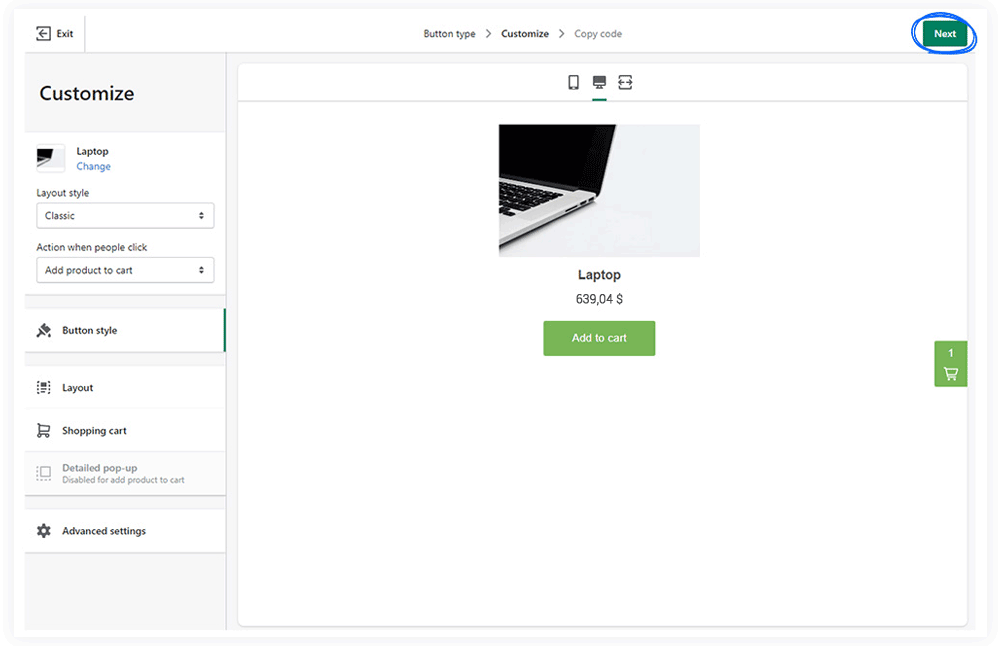
Customize different options such as the Layout style, the Action when people click, or the button style. Then, once you have finished editing, click on Next.
-
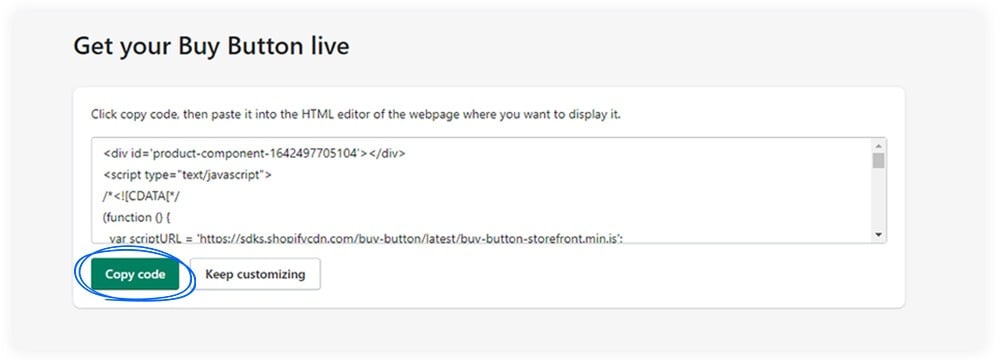
Click on Copy code. This is the code you will need to add to your Flipsnack catalog.
Adding the code to your Flipsnack catalog
In Flipsnack, you can create a catalog from scratch or upload a PDF and convert it to a flipbook. For the sake of the article, we will assume that you have already created a catalog.
-
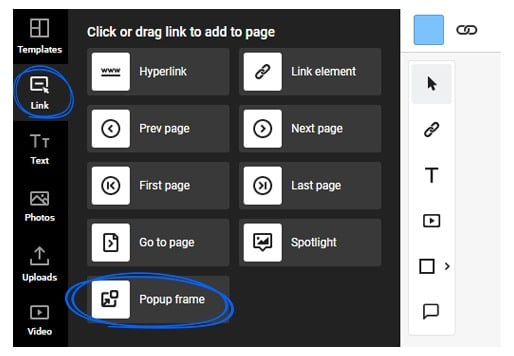
Open your Flipsnack catalog and click on Link and then on Popup frame.
-
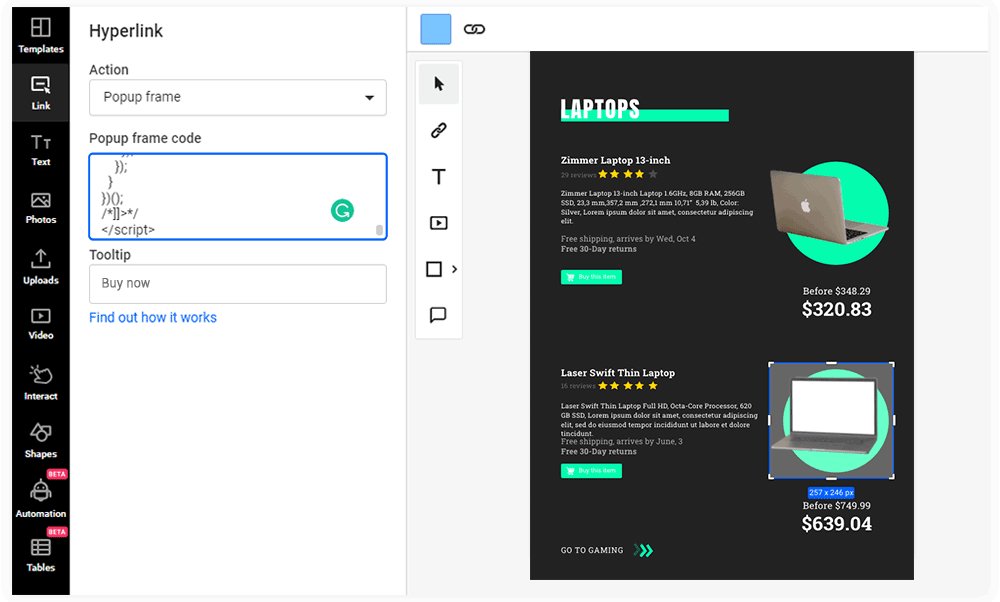
Place the popup frame in the catalog over a product, and paste the Shopify code in the Popup frame code field. Here you can also set various actions and the tooltip.
That is it; the product from your Flipsnack catalog is now connected with your Shopify store. You will have to repeat the same process for each product from your catalog.
All there is left to do is to test the feature, following the same steps a customer would do when browsing your online catalog. In order to do so:
-
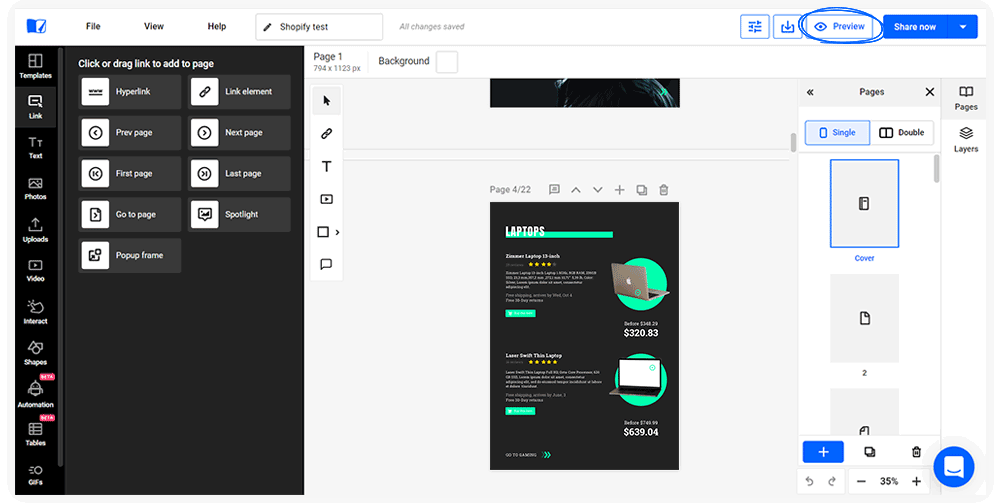
Click on the Preview button.
-
When in preview mode, click on the area with the Popup frame.
-
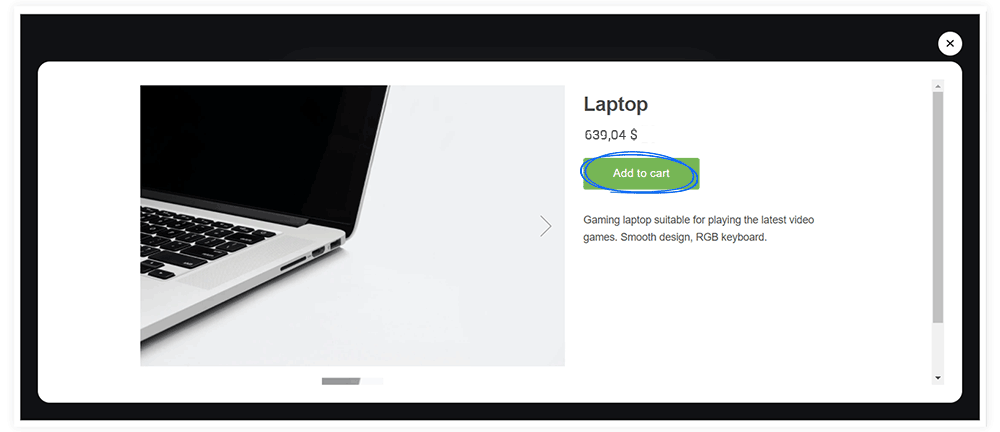
On the newly opened page, click on Add to cart.
-
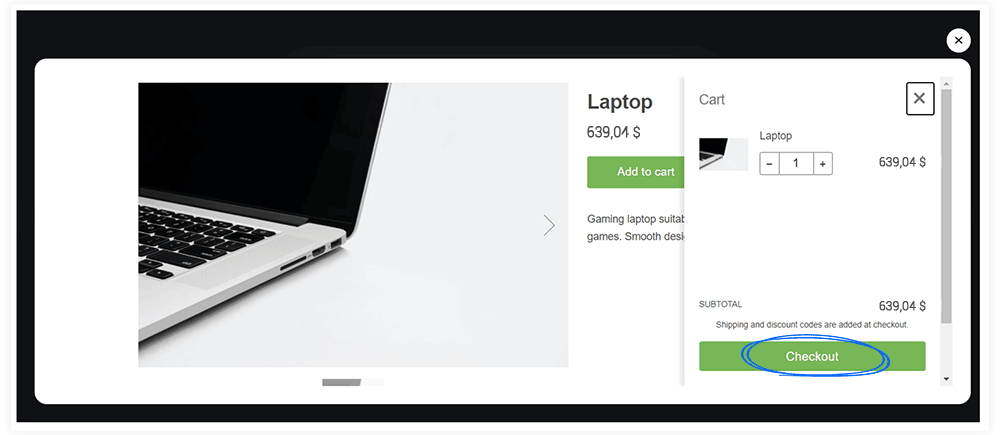
Once you have selected all the desired items, click on Checkout.
-
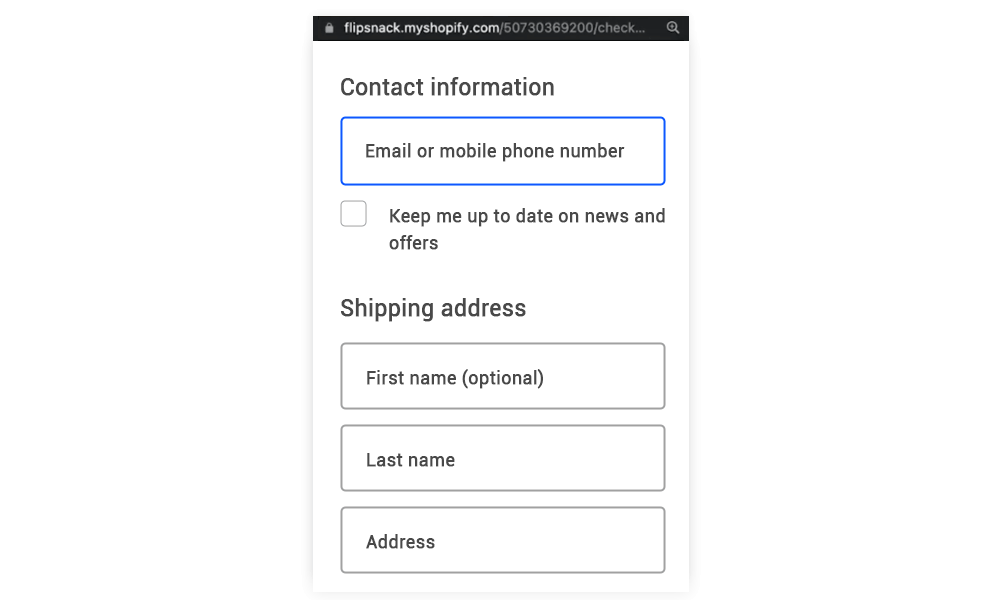
Fill in the required information to finalize the order.
If you have any questions or suggestions, please contact us via live chat.