How to crop images in your flipbooks
Enjoy a smoother image editing process by using the cropping feature.
Easily crop and edit images directly in Flipsnack—no external tools needed.
Overview
Flipsnack’s built-in cropping tool lets you edit images directly within the Design Studio—saving time and simplifying your design process. Whether you’re fine-tuning product visuals or adjusting layouts, cropping images is fast, intuitive, and flexible.
How to crop images
1. Select your image to reveal the Crop button at the top of the Design Studio.
.png?width=605&height=403&name=image-mh%20(18).png)
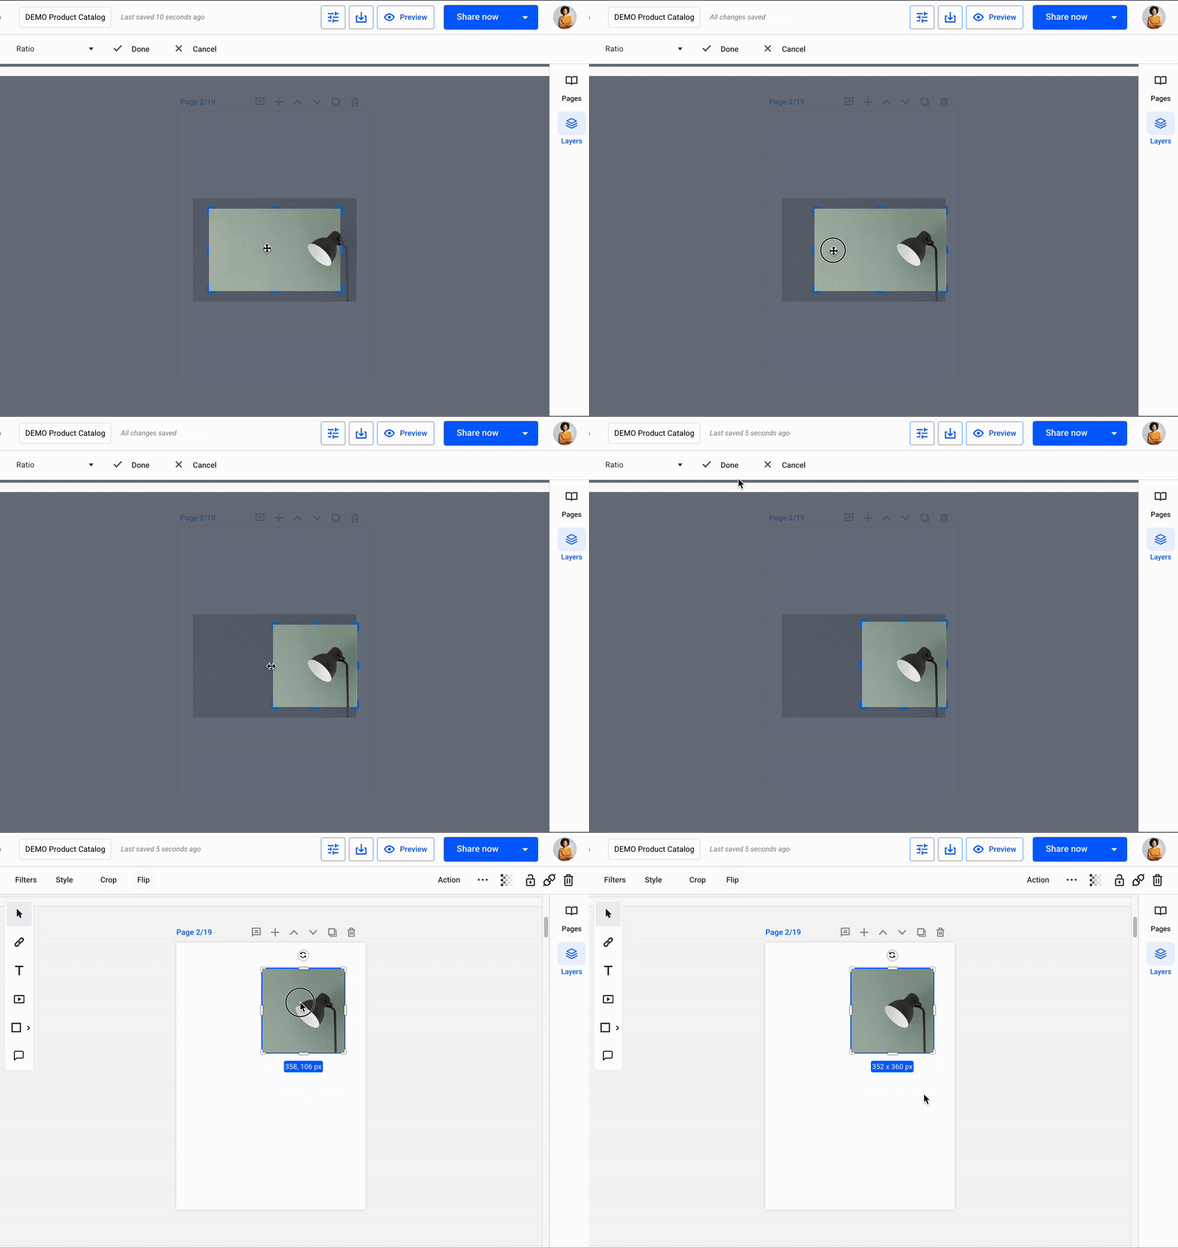
2. After you select the Crop button, select the area you want to crop.
Click and drag to select the area you want to keep.

Tip: If you found the perfect ratio, but want to make the cropping area larger or smaller, just hold Shift on your keyboard as you drag one of the corners of the selection outward or toward the center of the selection.
Crop ratio options
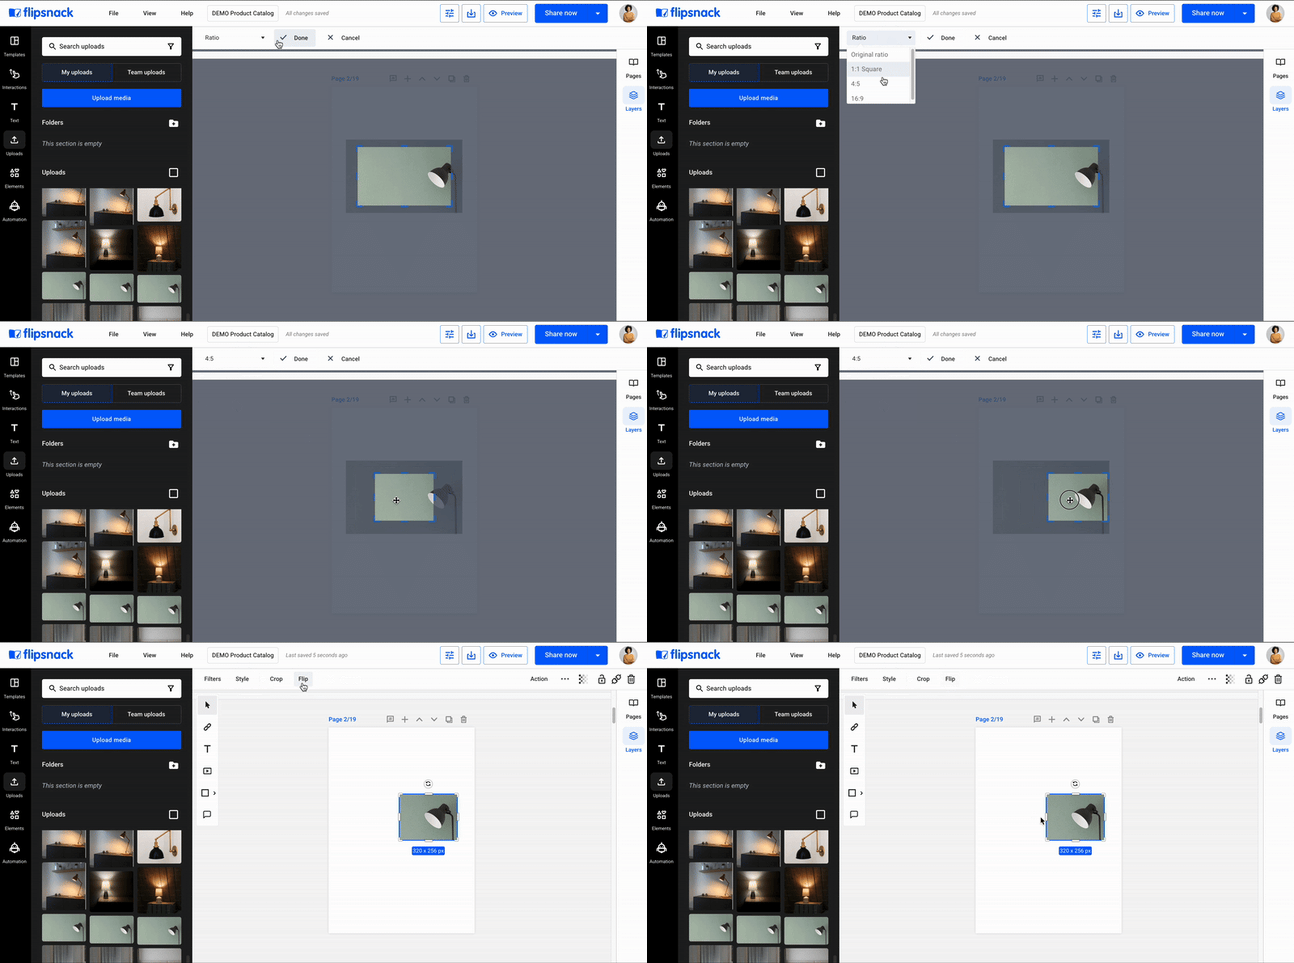
Now that you have selected the area you want to crop, choose from different ratio options:
-
Original ratio, which gives you the image's ratio as a starting point;
-
1:1 Square which gives you a square as a starting point;
-
4:5 ratio;
-
6:9 ratio.
Then, simply click Done (hit Enter). If you changed your mind just click Cancel (Esc) to exit crop mode.

Additional image editing tools
There are many other image editing options in Flipsnack that you should explore:
-
Image masks
-
Transparency
- Flip horizontal or vertical
-
Border, rounded corners, shadow
For any questions, don’t hesitate to contact us via live chat and we’ll be more than happy to help.