Text is an important part of any publication, so we wanted to make it as easy as possible to make your text perfect.
There are two different ways of adding text to your publications. For a premade text, simply copy and paste the text into our Design Studio by using a keyboard shortcut combination. Use Ctrl + C then Ctrl + V on Windows, or Command-C and Command-V on Mac.
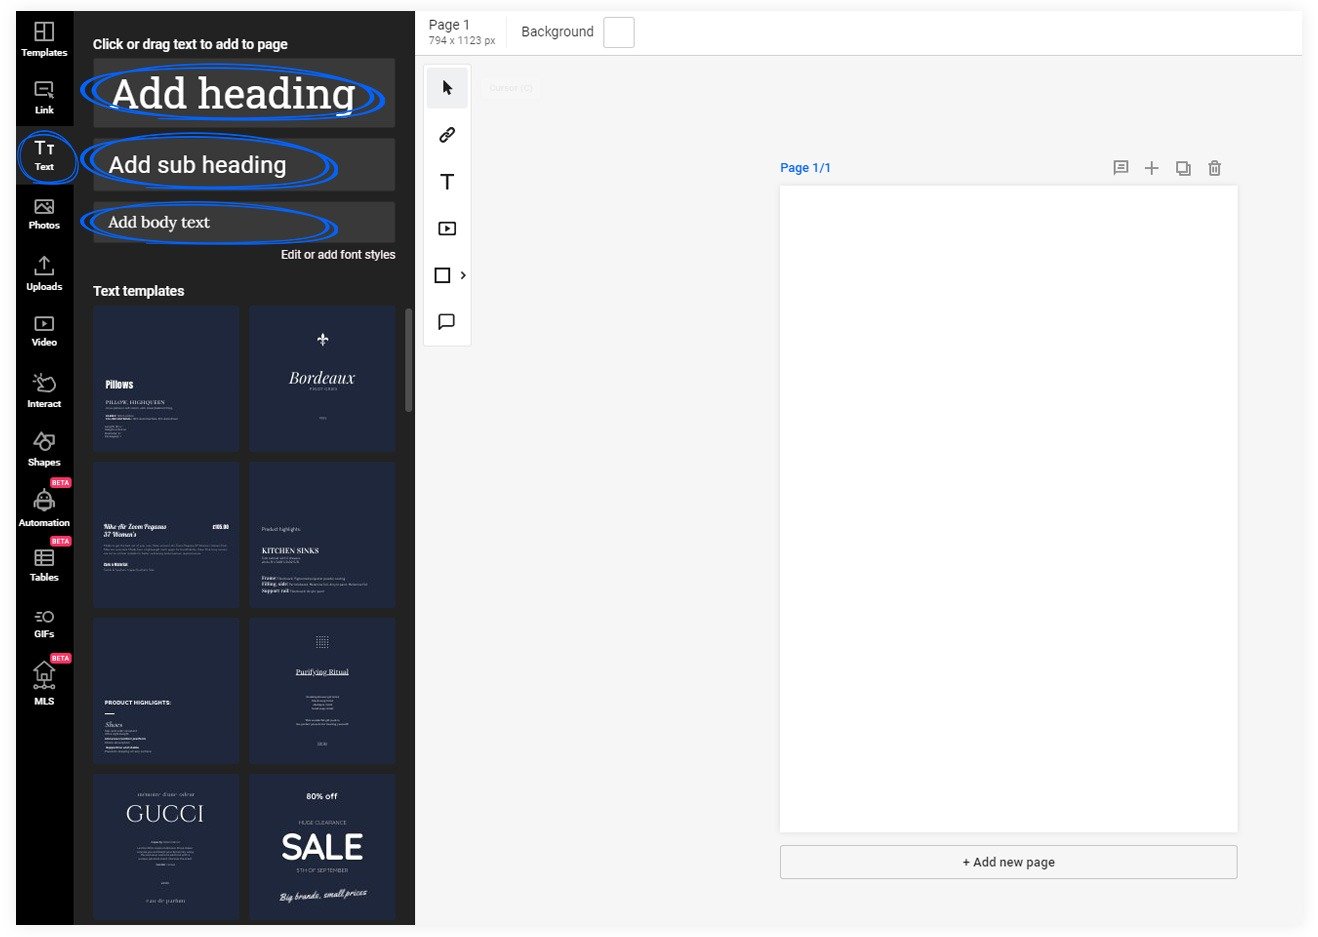
If you want to compose texts for your publications, go to the left-hand side of Design Studio, and click on Text. Either click on Add heading, Add sub-heading, or Add body text, or drag and drop them into the page. The three vary in font, font size, letter spacing, and line height, but each one can be adjusted later.
Once the text box is on the page, click on it once to access the various editing options, or twice to add or remove text. The great thing is that you can select multiple text boxes and edit them all at once. Simply click on multiple text boxes to group them together and apply the same edits you want to all of them. Save time when creating flipbooks from scratch using bulk text adjustments.
Here are the different ways you can edit the text in Flipsnack:
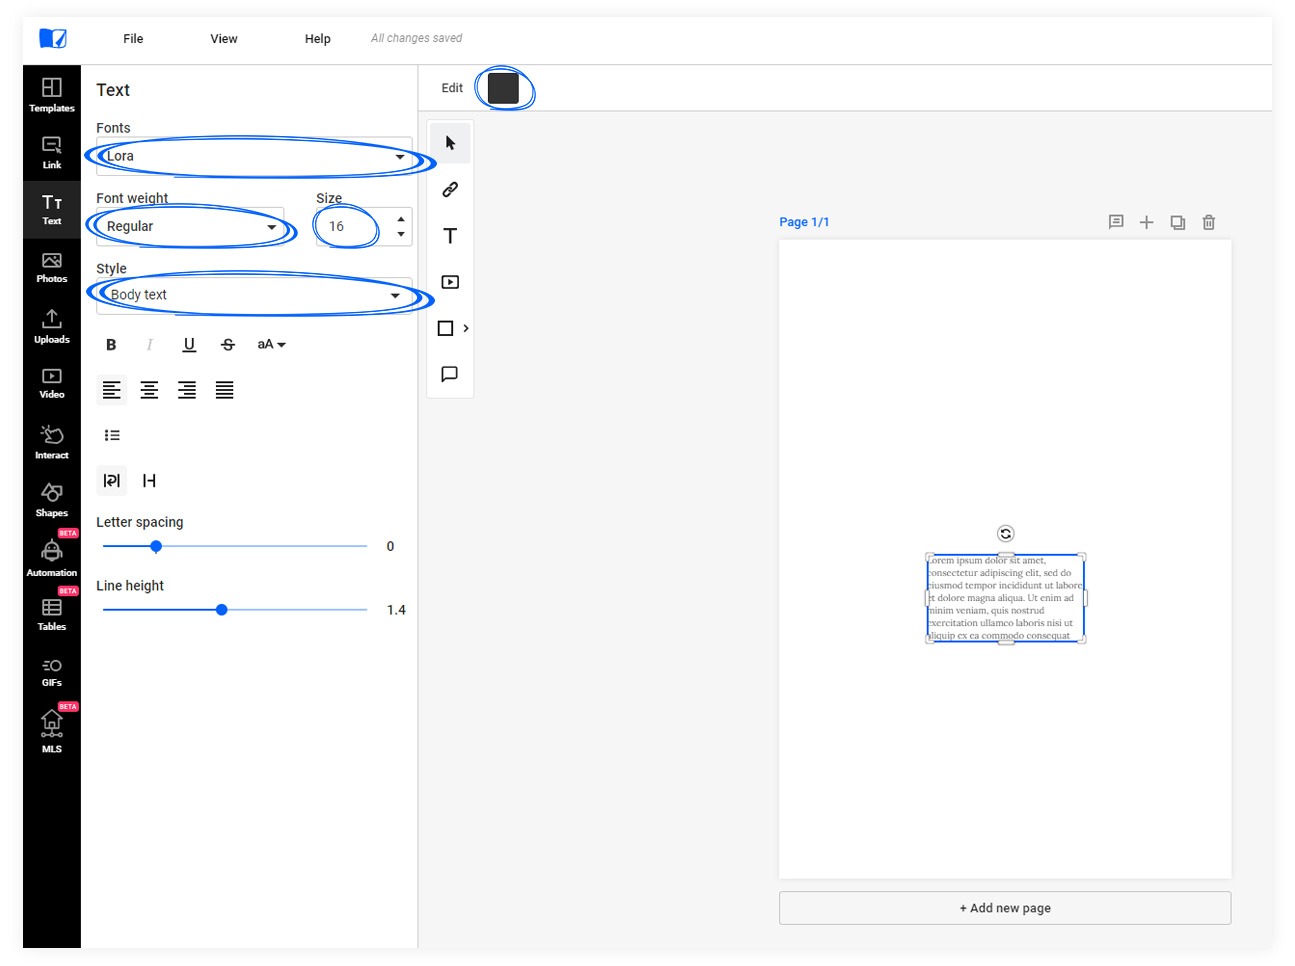
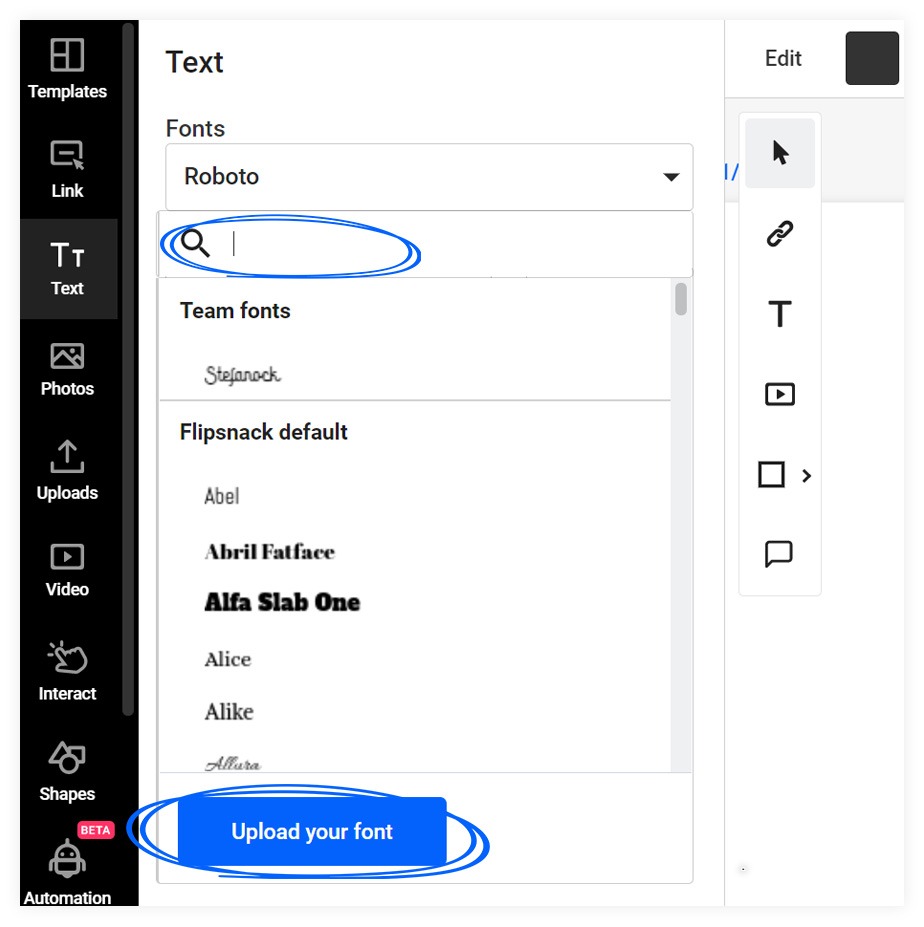
You can change the fonts, font weight, or font size (from 1 to 1,000), from their respective menus. You can choose from a wide range of fonts, or starting with our Starter Plan, you can upload and use your own font.
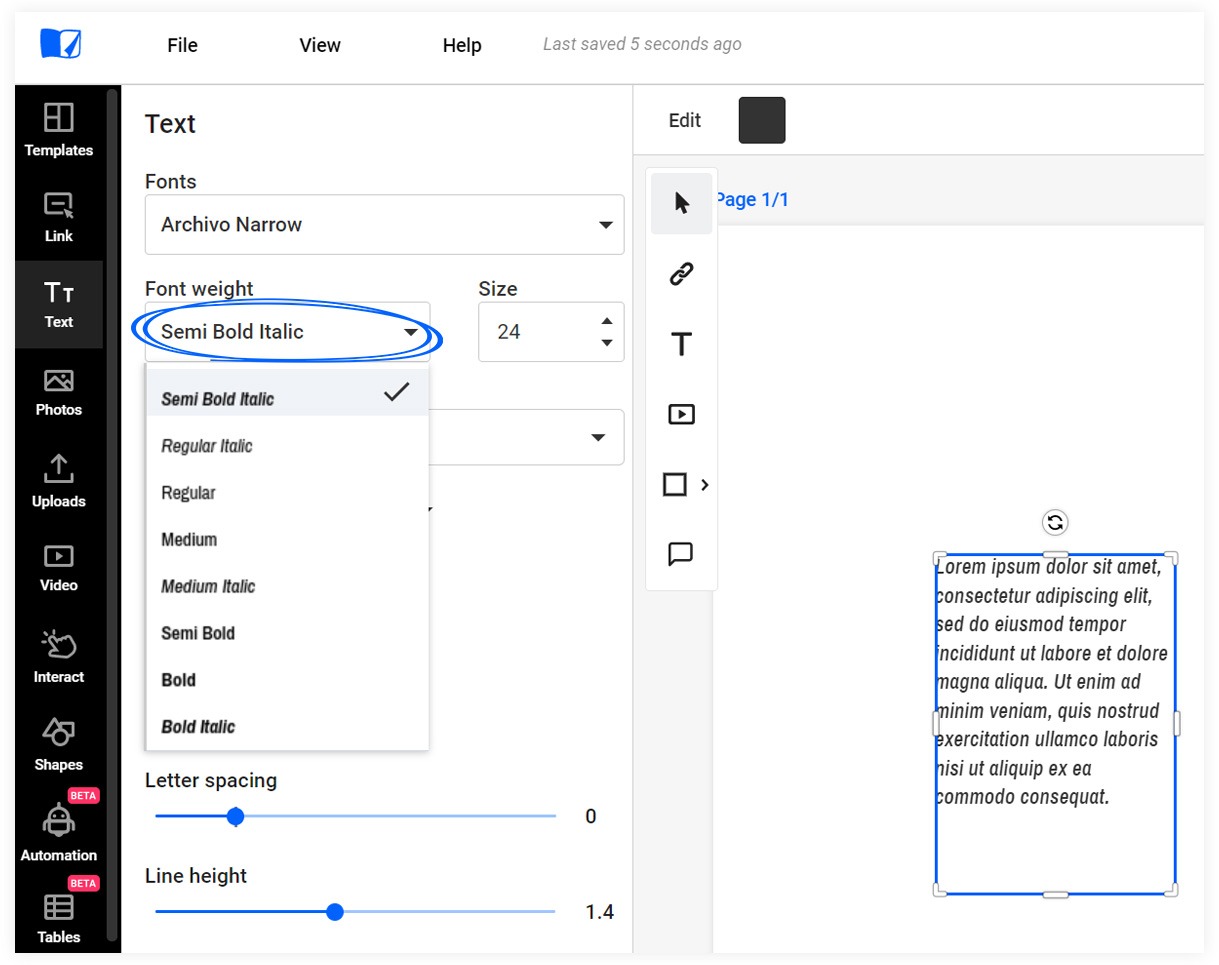
Based on the font you choose, you can adjust the text even more. You can make the text bold, italic, underlined, or strikethrough. You can also choose different font weights.
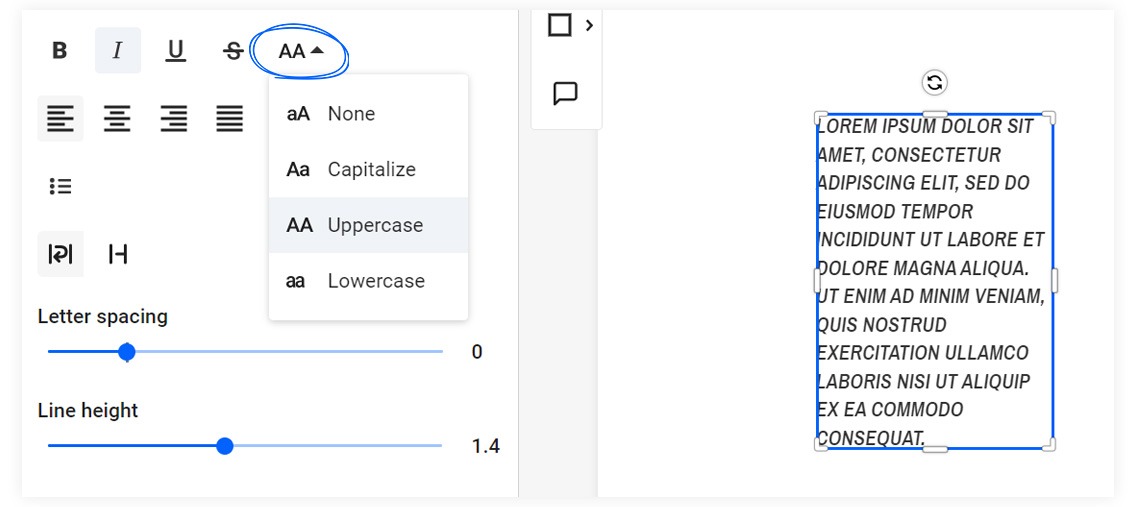
You can also capitalize each word, and make it in uppercase, or lowercase.
There are options to change the text alignment as well: left, right, center, and justify.

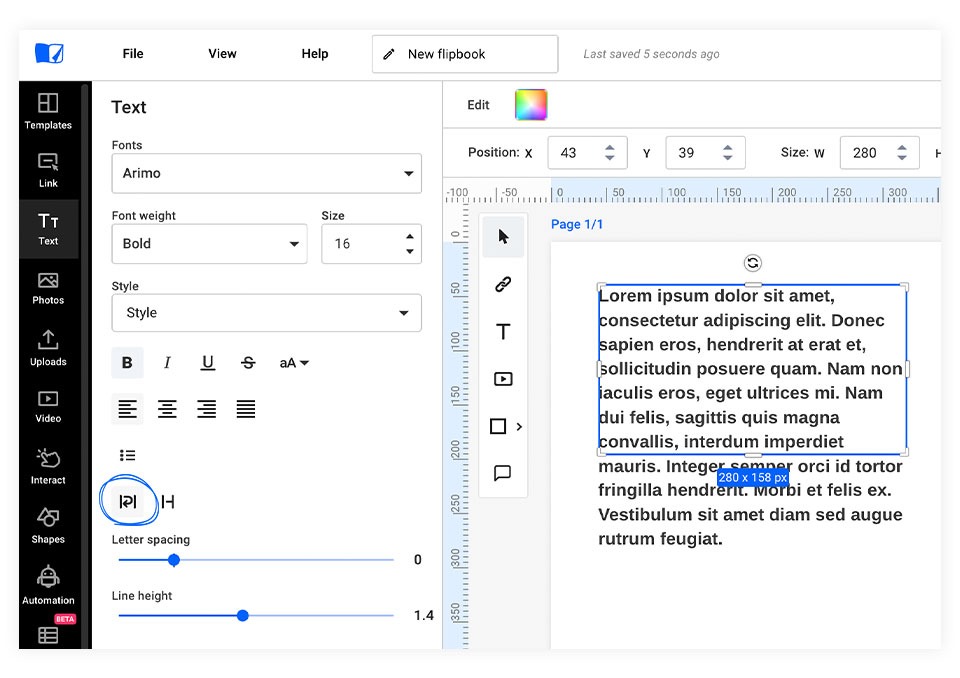
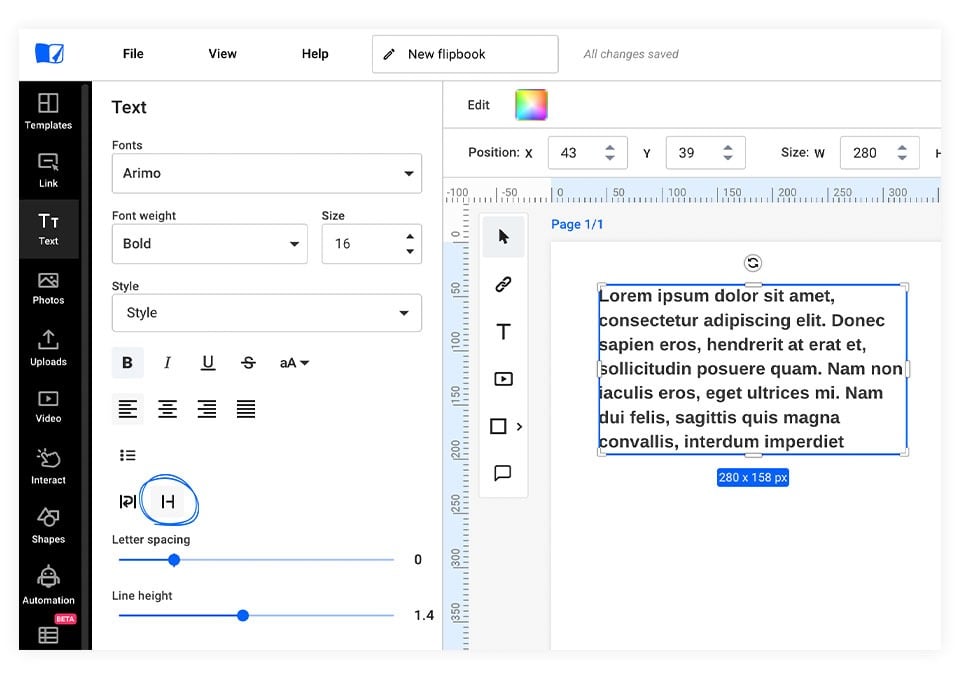
Don't forget to try our text editing features: wrap text & clip text. By using them you can decide which part of the text to be visible.
If you choose the wrap text function the viewer will be able to see the entire text even if it’s outside the text box.
If you use the clip text button then the viewer will only see the text from the selected area.
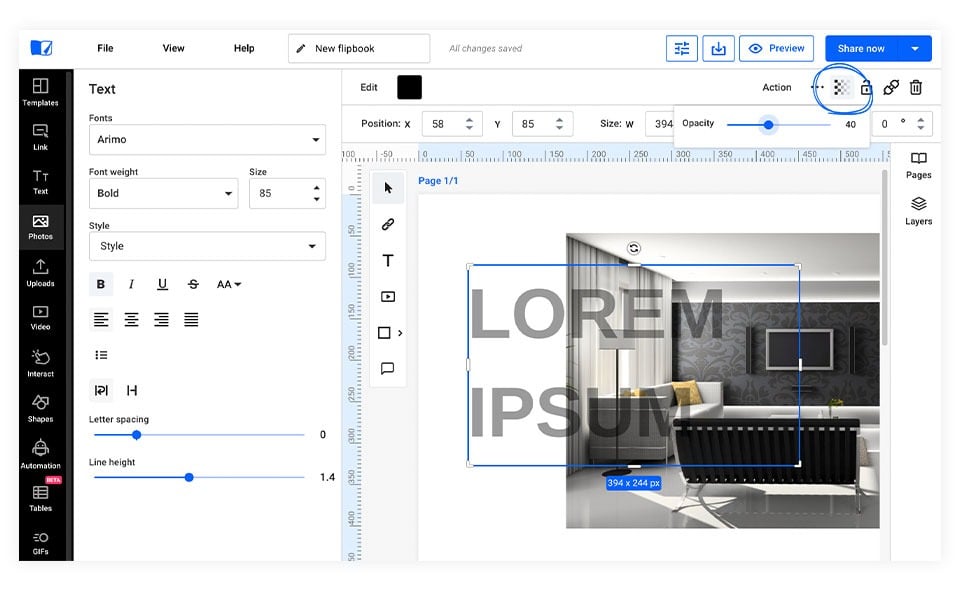
Also for a more complex look, you can test the transparency function.
Important: Once you’re done editing the text, click once outside of the text box, and drag your text to your desired location.
You can also collapse the left panel while working on your flipbook. To reopen it, just click on any of the icons in the left panel, like 'Templates' or 'Interactions.' Once you've selected an icon, the editing sidebar for the text element will appear again, allowing you to continue editing your text box.
If you have any more questions, feel free to contact our live chat. They will be more than happy to help.