Apart from real life, rulers are also used a lot in designs. The purpose of rulers in design is to help you position elements and to help measure from point to point with precision in order to make a balanced, organized design composition.
Keep in mind that this is different from the smart guides feature.
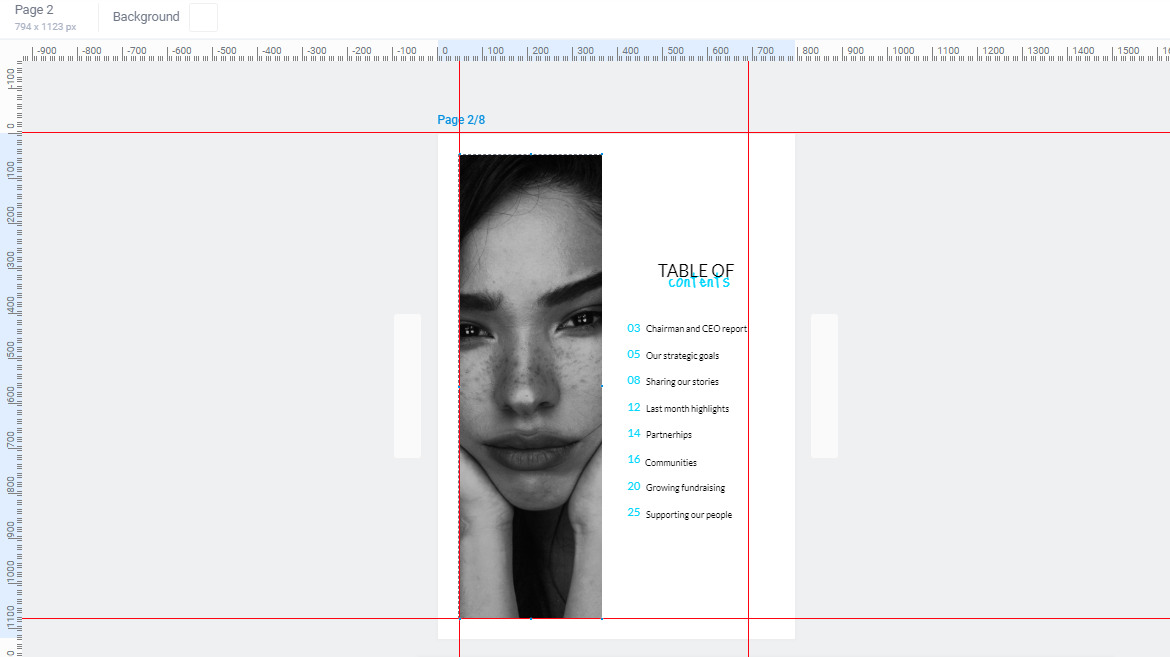
In Flipsnack, rulers appear on the top and left side of the editing interface if the ruler is turned on (view the image below).
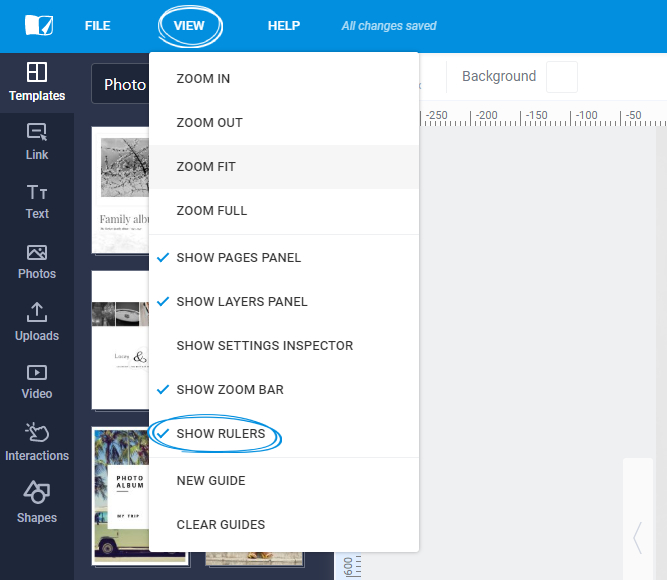
The ruler can be turned on/off by going to View - Show rulers.
The unit of measurement used in rulers in Flipsnack is pixels. (We might expand to more units of measurements in the future, such as cm and inch. If this is of interest to you, please let us know.)
In addition to helping you measure the exact distance between design elements, rulers also give you a great way to add precise guides to your document.
These ruler guides (the red lines in the image below) are only visible in the Design Studio in Flipsnack, so they will not appear in the exported PDF or in the published digital version of your design.
About ruler guides
Ruler guides are supposed to help you perfectly align various elements in the design of your catalogs and to help you save time while you're working on your design.
Here's how to add them:
Once you are in Design Studio, you can drag guides from the top and left rulers.
If you want to remove them from the page, just drag them back up or to the left.
You can select multiple elements from the page and align them to the existing rulers to make your design more precise.
Obviously, the numbers on the rulers from the top and left will help you place the guide exactly where you wish it to be placed.
If accuracy is super important (and it usually is) you can also add a guide on your pages by clicking on the View tab at the top of the Design Studio and then selecting New Guide.
-1.jpg)
An overlay will appear on your screen where you can select the orientation and position of the guide on your pages. You can also set the new guide to be displayed on each page of the design by checking the box for Add new guide on all pages. Then click OK to apply the guide.
If you are not happy with the position of a guide, you can reposition it by dragging it lower, higher, left or right.
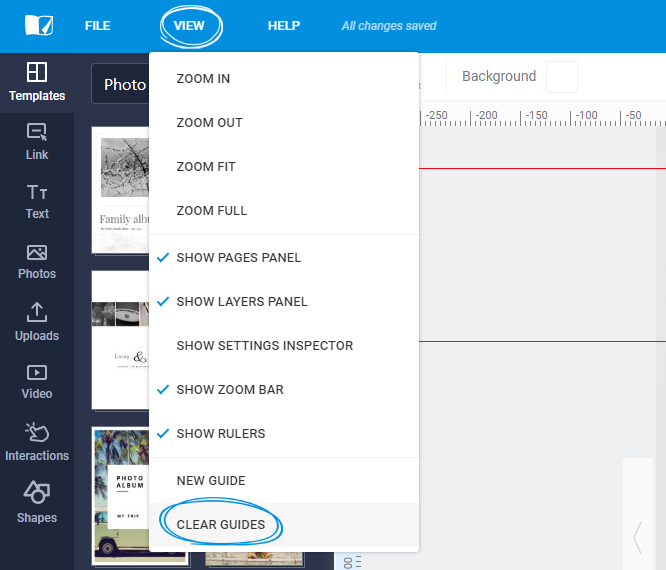
When you're done and want to remove the guides, simply click on View again, select Clear guides then Delete.
Good to know
By default, your guides will not show on all pages in editing mode. If you want to use your guides on all the pages, make sure you check the box for Add new guide on all pages.
Moving on to the next step (to download or publish online) these guides will not appear in your final design, so you don't necessarily have to clear all the guides from your design.
Learn more about rulers & guides in this video.