Table of contents
Overview
Flipsnack's Salesforce integration makes it easy to turn flipbook views into new leads in your CRM. With lead forms embedded directly into your publications, you can capture contact details from engaged prospects and pass them automatically into Salesforce.
This is built for sales, marketing, and RevOps teams who rely on Salesforce to qualify and close pipeline.
Requirements
Plan: Enterprise and Organization
Integration: Salesforce account with API access
Common use-cases
-
Sales enablement content: Gate pricing sheets or use cases for qualified leads
-
Post-event follow-ups: Auto-capture attendee data from brochures
-
Partner programs: Share partner assets with tracking and lead capture
-
Lead capture for outbound campaigns: Link flipbooks in cold emails and capture new contacts
Key benefits
-
Instant lead creation: New form submissions generate new Salesforce contacts
-
Custom mapping: Sync Flipsnack form fields to standard or custom Salesforce fields
-
Secure sync: OAuth authentication and native API connection
-
Form-level control: Add forms to specific pages for contextual targeting
Step-by-step guide
Add a lead form to your flipbook
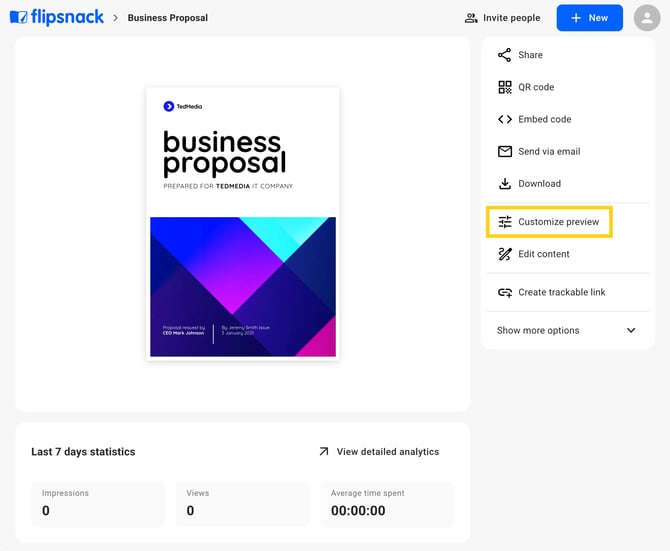
1. Open your flipbook and access the Customize section.
2. Navigate to the Lead form panel.
3. Enable the form and configure field labels, button text, and legal requirements (privacy/GDPR).
4. Choose the page where you want the form to appear.

Connect your Salesforce account
1. In the Lead form panel, toggle the Salesforce switch.
-png.png?width=670&height=527&name=Screenshot%202025-11-17%20at%2015-43-19-mh%20(3)-png.png)
2. Log into Salesforce when prompted and allow access for Flipsnack.
-png.png?width=670&height=501&name=Screenshot%202025-11-17%20at%2015-43-19-mh%20(4)-png.png)
3. Once connected, you'll return to the flipbook editor.
Note: You can also go to Settings > Integrations > Salesforce to manage the connection globally
Map form fields to Salesforce fields
1. Use the mapping menu to pair each form field with a Salesforce field.-png.png?width=670&height=527&name=Screenshot%202025-11-17%20at%2015-43-19-mh%20(5)-png.png)
2. You can map to standard fields like Name, Email, Phone, or any custom fields you’ve created.
-png.png?width=670&height=527&name=Screenshot%202025-11-17%20at%2015-43-19-mh%20(6)-png.png)
3. Click Save changes once you're done.
Test your integration
1. Preview your flipbook and fill in the form with test data.
-png.png?width=670&height=453&name=Screenshot%202025-11-17%20at%2015-43-19-mh%20(2)-png.png)
2. Submit the form.
3. In Salesforce, go to Leads and confirm the new contact was added.
.png?width=670&height=527&name=Screenshot%202025-11-17%20at%2015.43.19-mh%20(1).png)
Additional tips / FAQs
-
Place the lead form after the first few pages to avoid early bounce
-
Use required fields to qualify better leads (e.g., company size, job title)
-
Keep your form short—just enough to route the lead effectively
-
Ensure your Salesforce role includes API access and integration permissions
Next steps
Useful resources
Set up your forms and integrations efficiently:
-
Salesforce integration setup (placeholder until live)
Need expert support?
Our team is here to help. Connect with our team experts or message us via the live chat for personalized assistance.